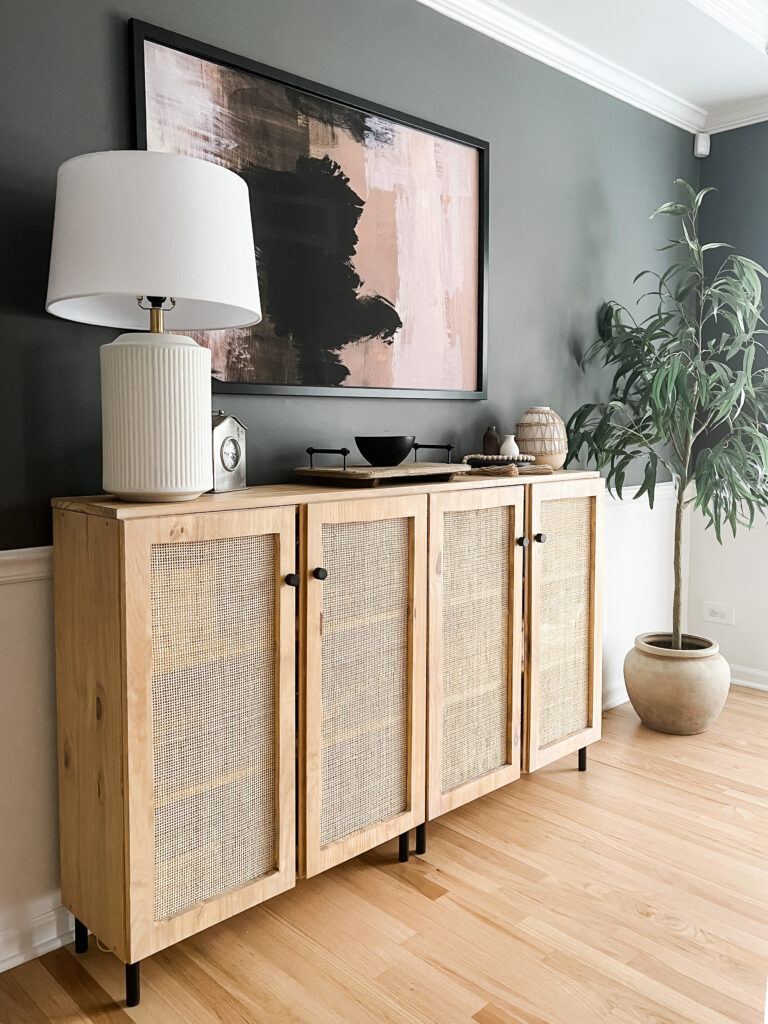
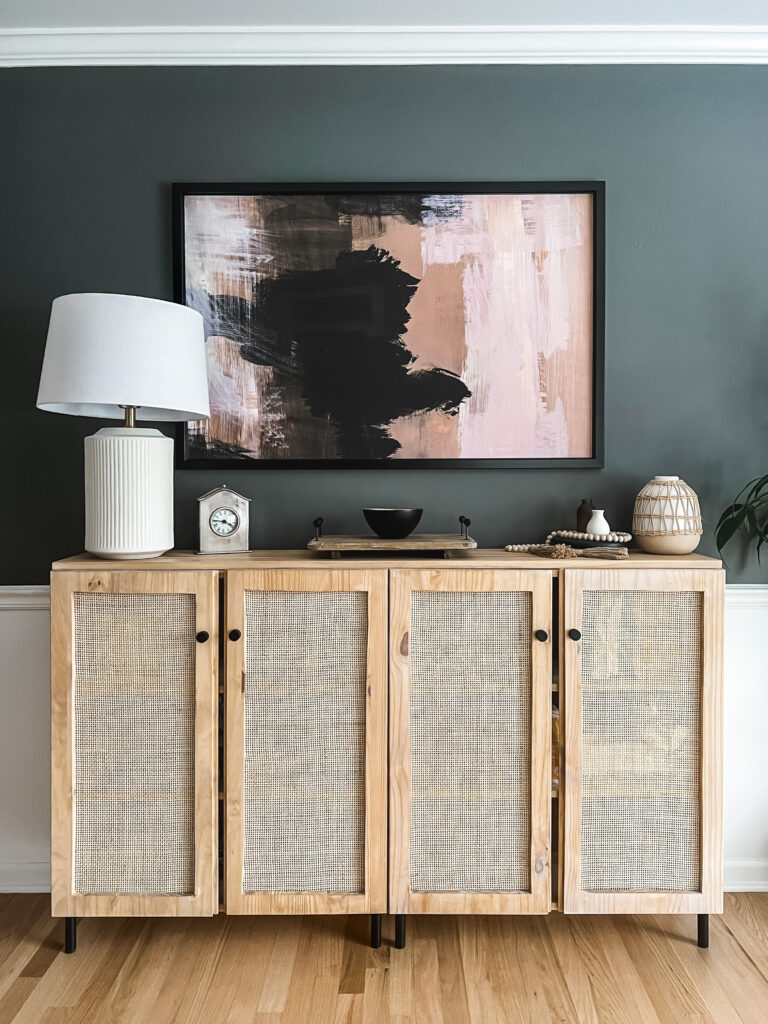
I searched and searched (and searched) for a sideboard for our dining room that didn’t cost a fortune. For the first year we lived in our house, we only had a table in the dining room and it felt incomplete. I’ve always loved this sideboard from Lulu and Georgia, but just couldn’t justify the cost of it. Instead, I used that one as inspiration and got to work.
These Ikea Ivar cabinets are solid pine, which makes them really sturdy and able to be stained. I got the ones with the 12 inch depth so they wouldn’t take up too much room and got two of them so it would look like one long sideboard. Here is how I did it!
Supplies:
- 2 Ikea Ivar cabinets (I got the 12 inch depth, but they have a 20 inch too)
- Wood for counter top (optional)
- Cane webbing
- Legs (if you want them, I used these)
- 4 knobs (I grabbed these from CB2)
- Jigsaw (if you are cutting out the doors)
- Screwdriver
- Masking tape
- Drill
- Staple Gun + staples
- Scissors
- Sandpaper or electric sander with 120 and 220 grit
- Tack cloth
- Wood conditioner
- Stain of your choice (I used Golden Oak and a White Wash)
Process:
Build Cabinet Boxes + Prep Doors
- Put together the cabinet boxes and leave the doors off, you will work on the doors first.
- If you are wanting to do the cane doors like I did, decide how wide you want the outer edges of the doors to be, mine are 2 inches. Once you have decided, measure the distance from the edge of the door and make some lines with pencil. Make sure you are measuring and marking on the backside of the door as the front inner door edges are slightly shorter than the back and you will want to cut with the good side down.
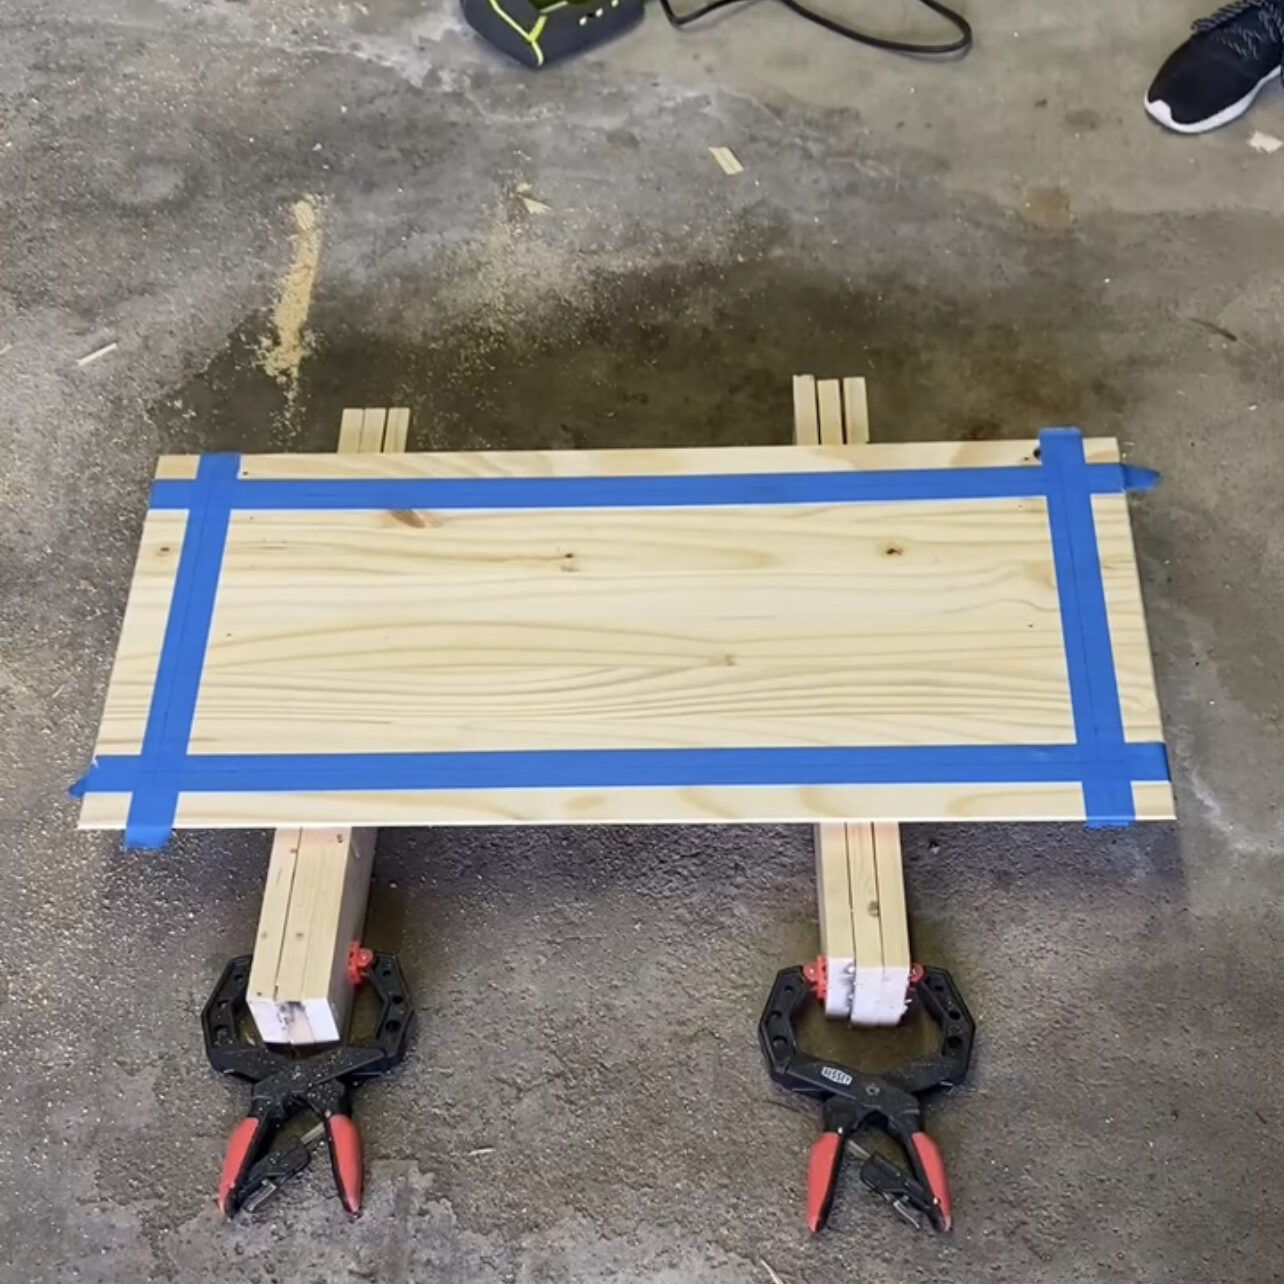
- Put masking or painters tape over the lines you just made (this will make for a MUCH cleaner cut with your jigsaw). Measure 2 inches from the edge and mark your lines AGAIN, this time on top of the tape. These are the lines you will use to guide your jigsaw. It should look like the below once you are done.
- Next, you will want to get a drill bit that is just slightly larger than your jigsaw blade and drill holes in each of the 4 corners. Make sure you drill slightly on the INSIDE of your lines so you won’t interfere with the straight lines. These holes will be where you start and end drilling.
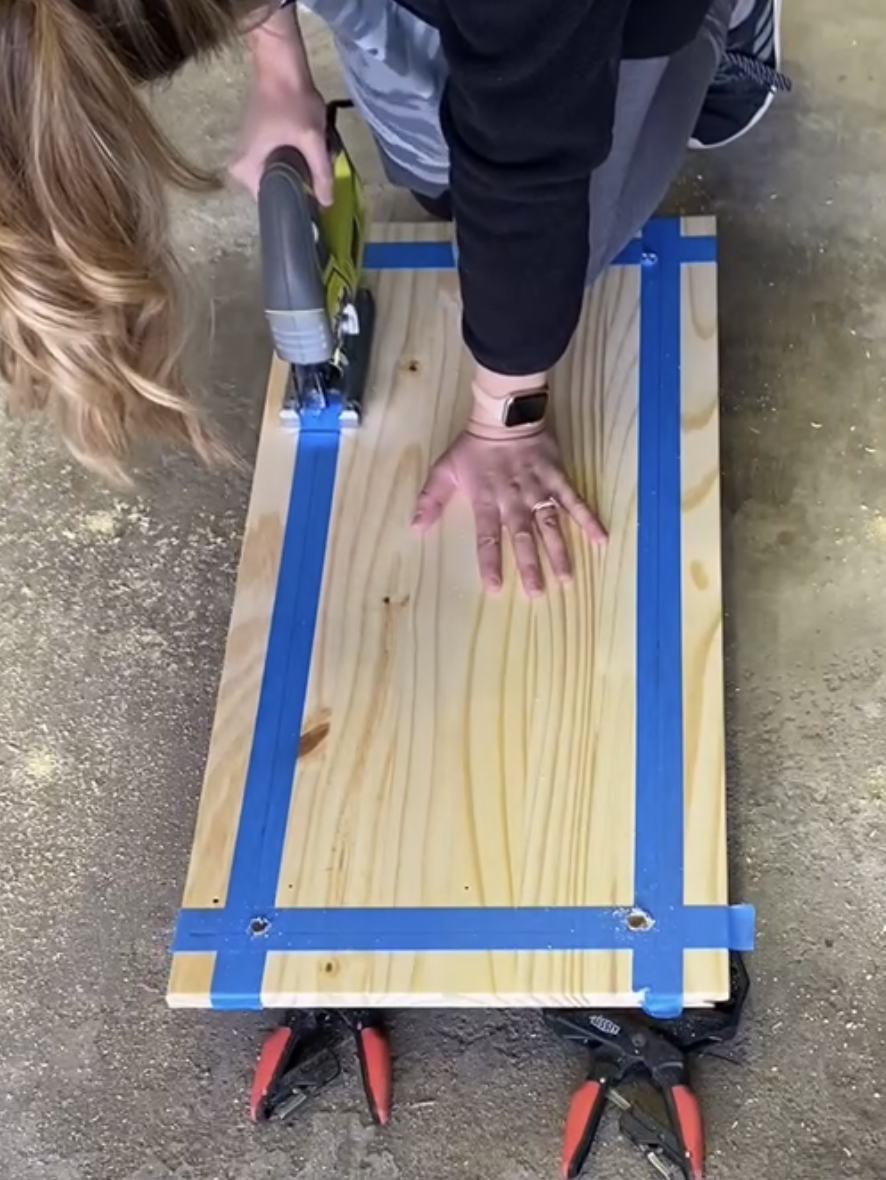
- Make sure your doors are front side DOWN (you always want the good side down when using a saw because the bottom side will have a cleaner cut). With your jigsaw, put your blade through one of the holes and line up where you will be cutting. Once you are set go SLOWLY down the line to the other hole. I cannot stress enough how slowly you should be going. This will ensure that you get the straightest line possible. I went way to fast on my first few cuts and definitely regretted it.
- Continue this process on all 4 sides and all 4 doors. Don’t worry too much about chips or imperfections in your cutting as you can correct some of it with sandpaper and/or wood filler.
Staining:
- Once you have cut all your doors, you can begin prepping them and the cabinet boxes for stain! Fill any major chips with wood filler (or saw dust mixed with wood glue works too!). Use 120 grit sandpaper to sand down the wood filler after it dries.
- Next, lightly sand everything 220 grit sandpaper and remove all the dust with a tack cloth (or very slightly damp paper towel).
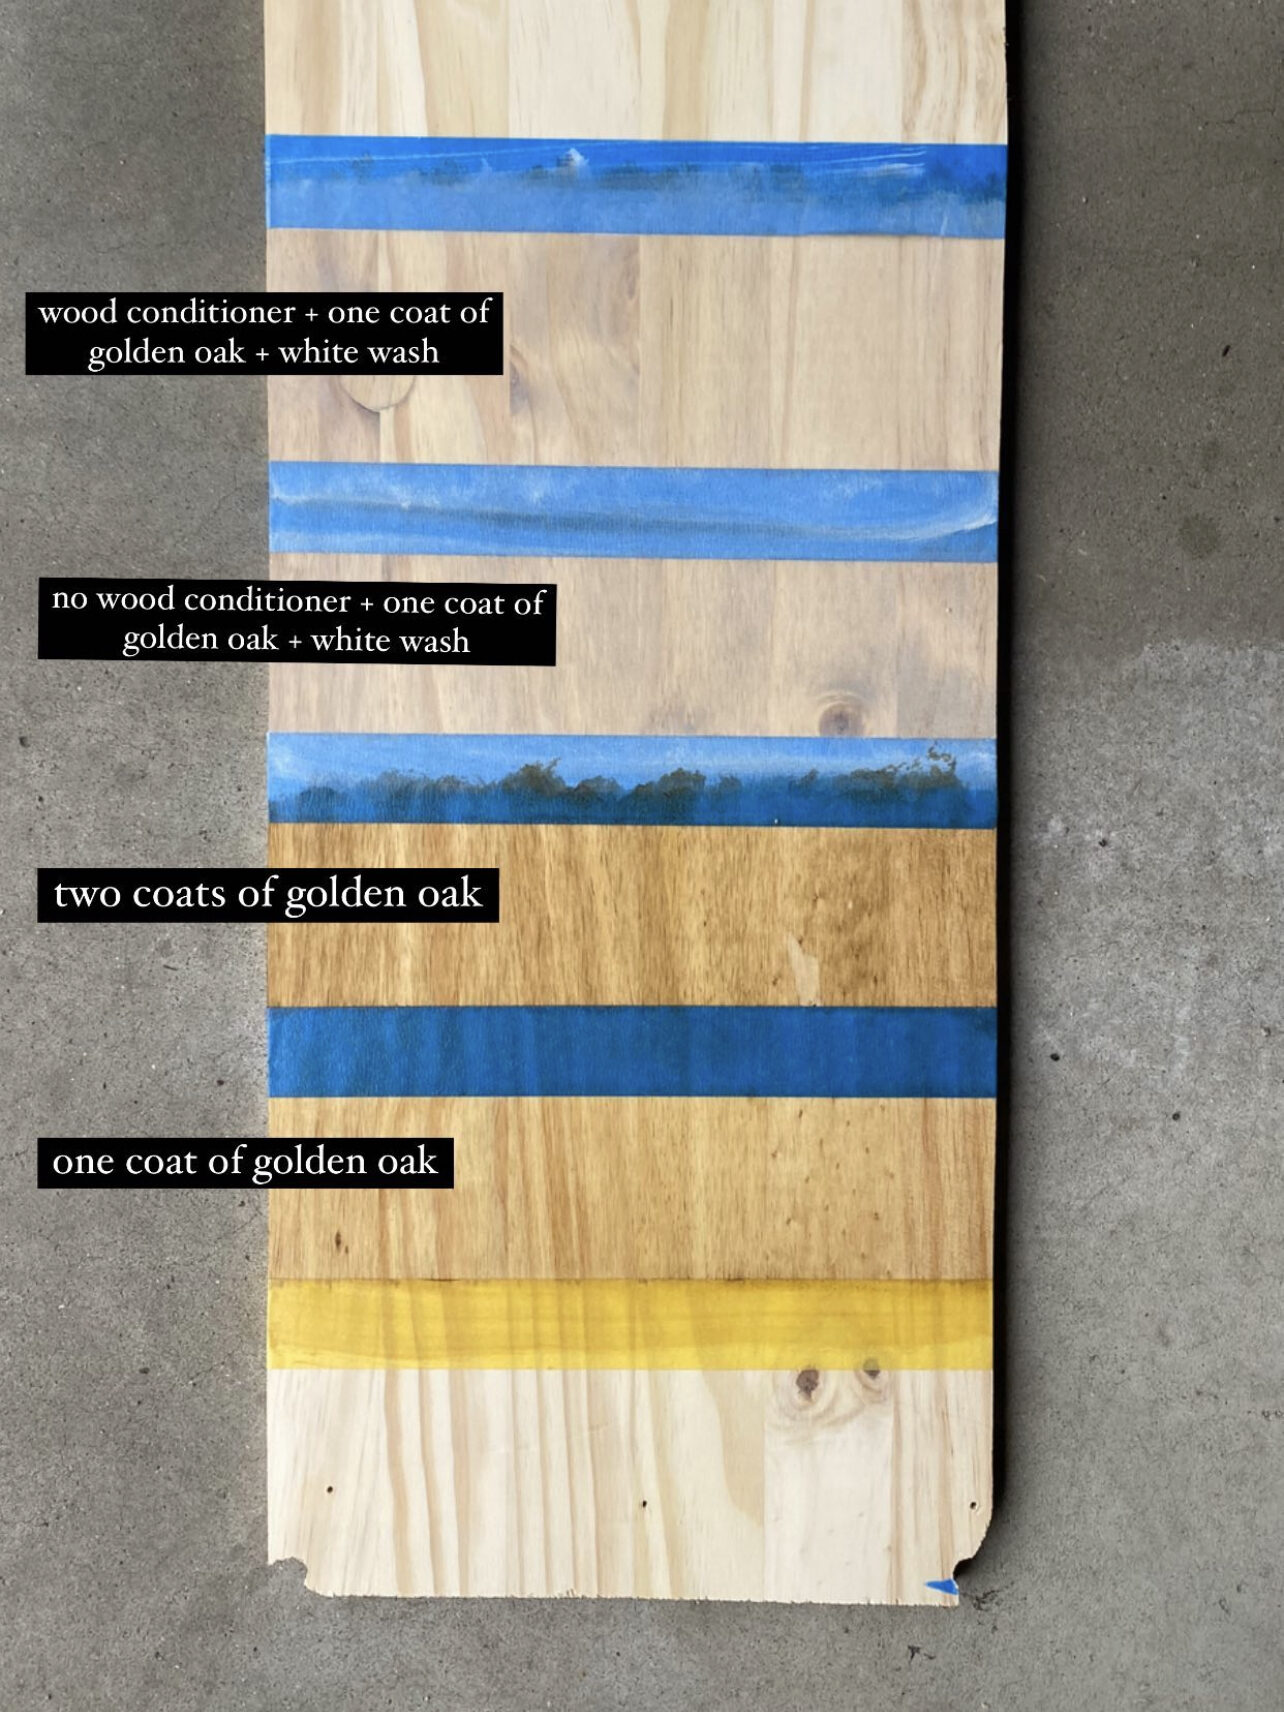
- If you aren’t sure what stain you want to go with, use the scrap wood from the middle of the doors to do some swatches! I went with a combination of Varathane Wood Conditioner + 2 coats of Golden Oak + White Wash for mine.
- Once you have decided on your stain, I would highly recommend first treating your wood with a Wood Conditioner. I just used a piece of an old t-shirt to rub it on (you can also use a paint brush) and another piece to wipe off the excess. Wait 30 minutes before moving onto the stain.
- Next, apply the stain in a similar way to the wood conditioner. You can wait a little bit longer between application and wiping off the excess if you want a deeper color. Wait 2 hours before applying another coat (some stains may vary so read the can!). Repeat as many coats as you’d like.
- If you are doing a white wash as well, you will follow a similar process to the stain. For the white wash, I used a paint brush to apply it because I found I got better coverage. I wanted about a minute and wiped it off with a clean t-shirt scrap or paper towel.
Prep + Attach Cane Webbing
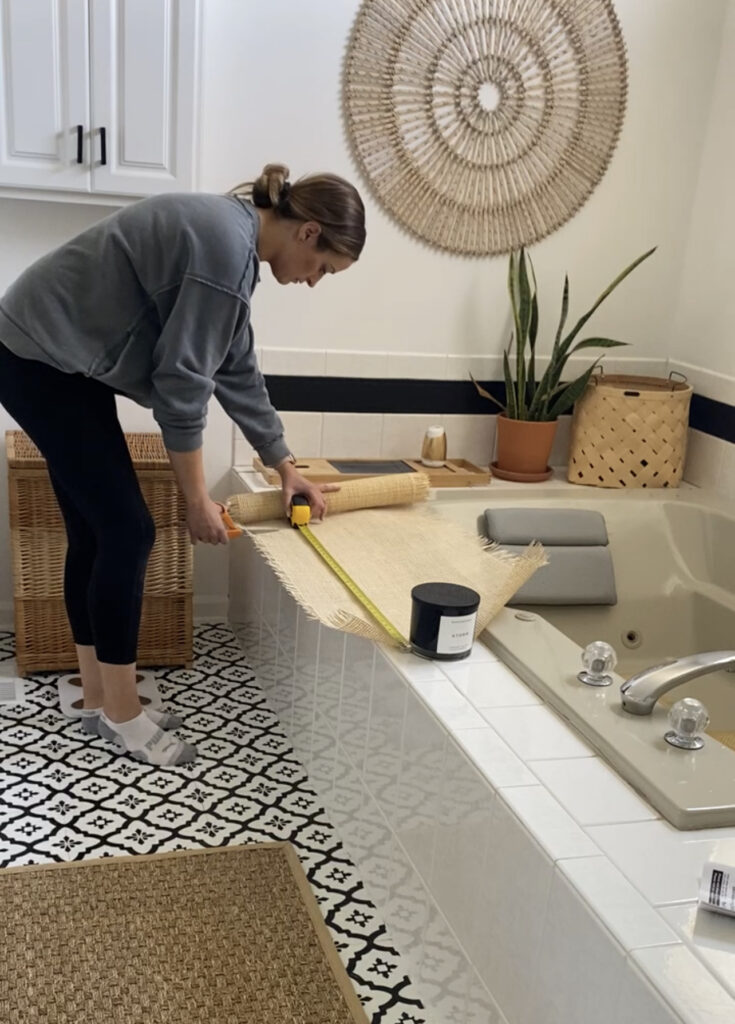
- Cut cane webbing into the correct size to cover your space in the doors ensuring to add a few inches on all sides for staples (you will cut off any excess).
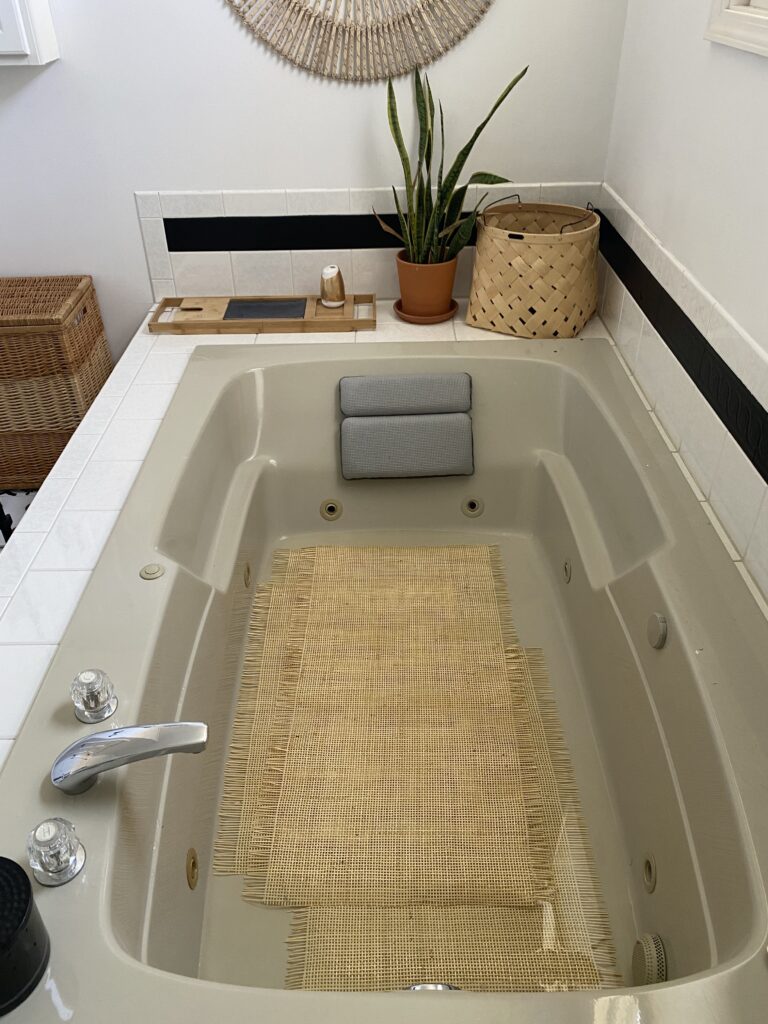
- Fill a tub with a few inches of warm water. Soak the cane webbing for about 30 minutes to soften it up and make it easier to work with. If it’s still stiff, give it a bit more time.
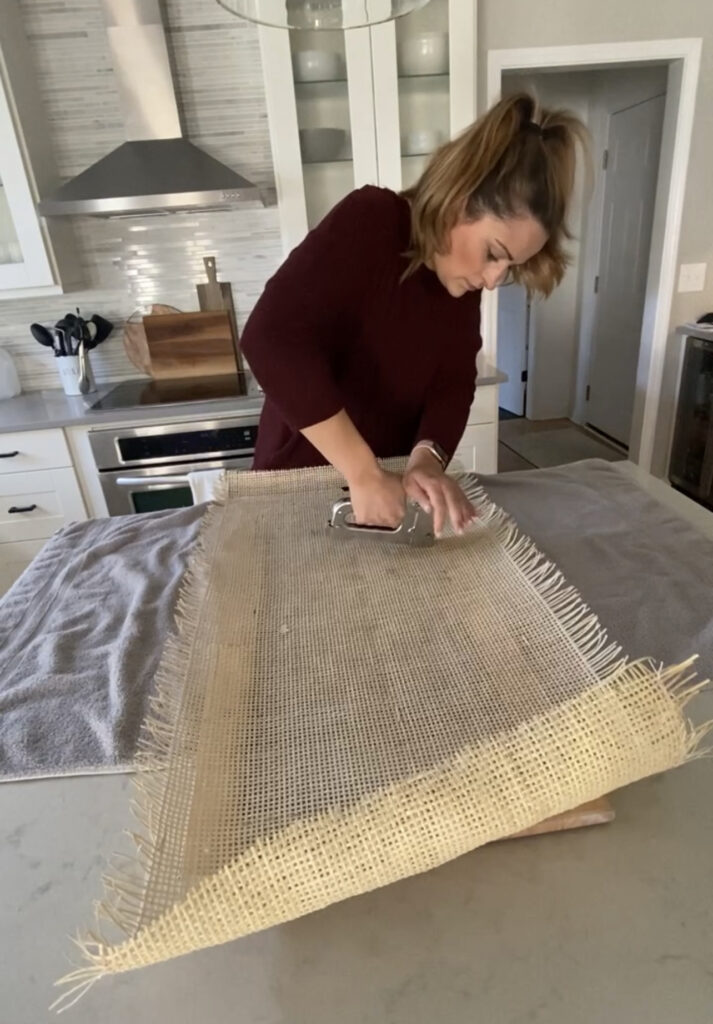
- After soaking the cane, you can start stapling it to the doors! Pull the cane as tight as possible as you go along so the doors will be sturdy. As the cane dries, it will tighten more. You will use A LOT of staples for this part!
- Cut off any excess cane webbing along the outside.
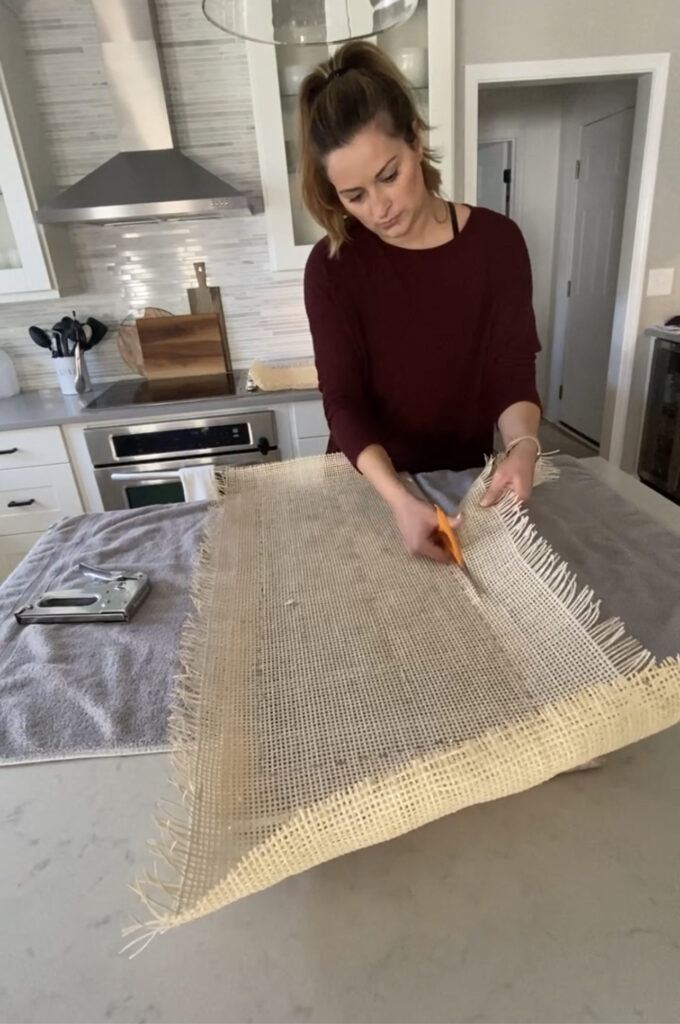
- Repeat this process for all the doors.
Assemble your cabinet!
- Use the hinges provided by Ikea to attach the doors to the cabinet boxes.
- Now, you can absolutely be done there, OR, there are a few more steps you can take to really make it feel custom…
- [OPTIONAL] If you are using more than one cabinet, you can attach the two cabinets to each other and have a board cut at your local hardware store to lay across the top of each to look like one continuous surface. Attach this board to the cabinets with nails or screws.
- [OPTIONAL] Add legs to the bottom of your cabinets! If you are using 2 cabinets, you will want 8 legs. I got these simple black legs from Amazon, but you can choose any legs that match the style you are going for.
- [OPTIONAL] Add knobs or pulls to the doors for a more high end look. I chose these black ones from CB2.
- Pro Tip: I’d recommend mounting this cabinet to the wall (especially if you add height with legs) as it is prone to tipping. The mounting kit will be included when you purchase the cabinets!
And you’re done! I’d love to hear if you try this out. Good luck, and let me know if you have any questions at all!