![This image has an empty alt attribute; its file name is IMG_6556-edited-1.jpg](https://homewithjanny.com/wp-content/uploads/2020/12/IMG_6556-edited-1.jpg)
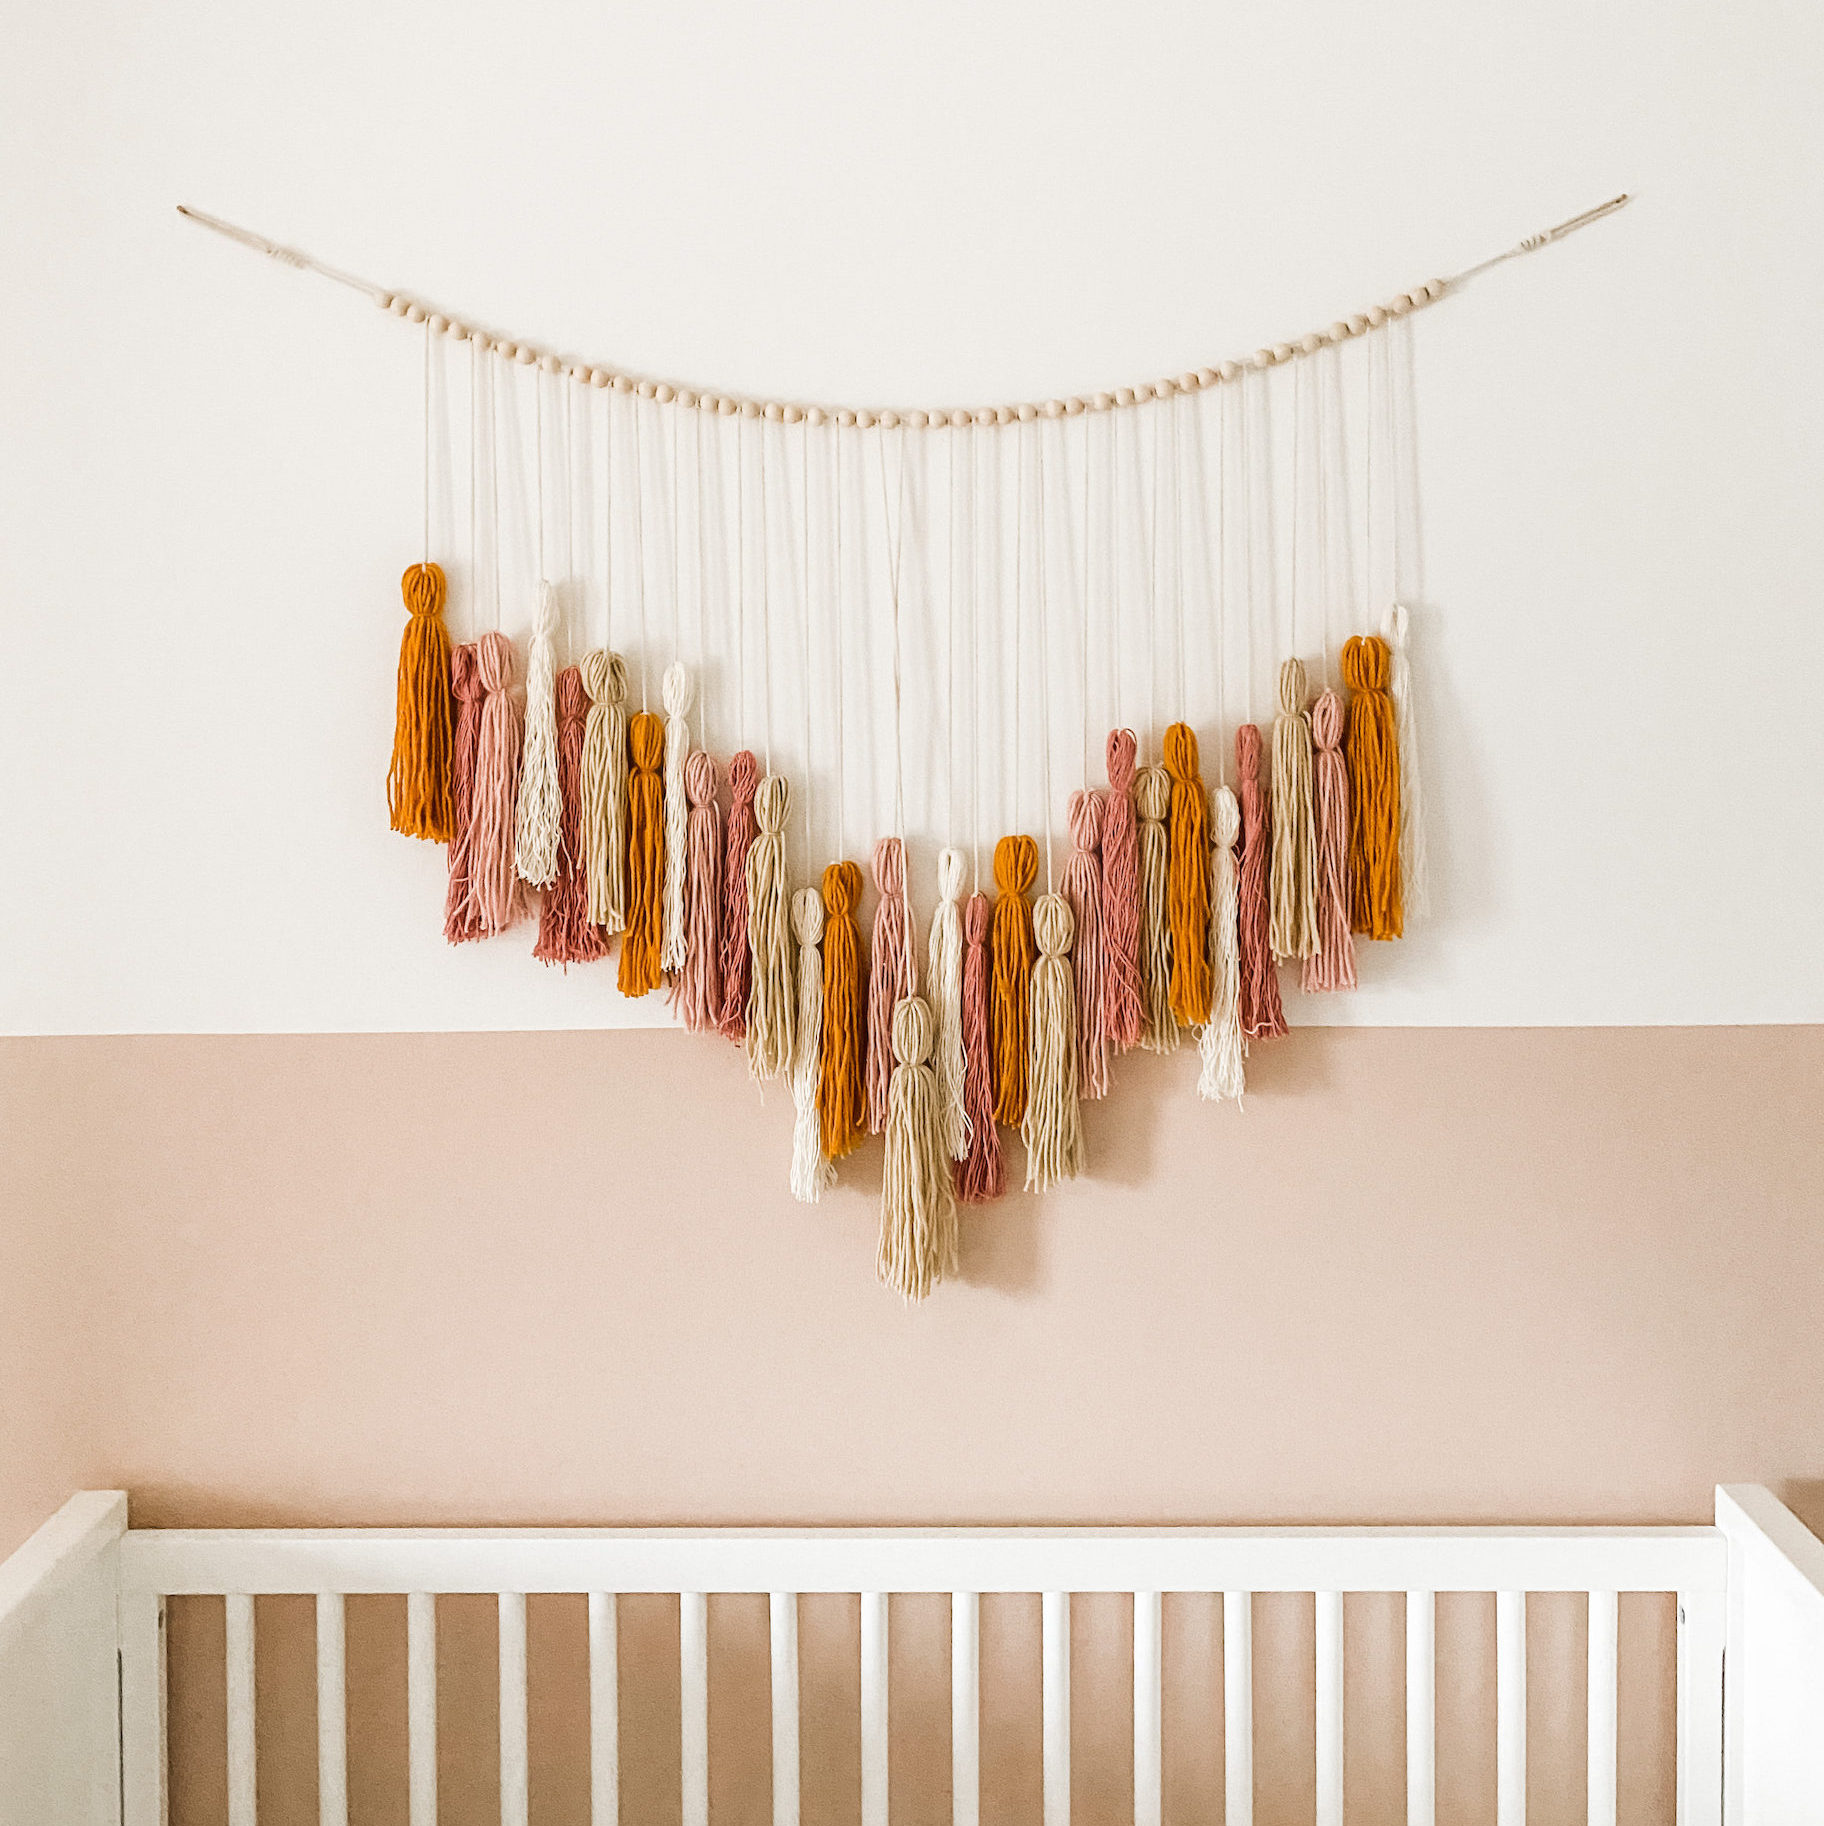
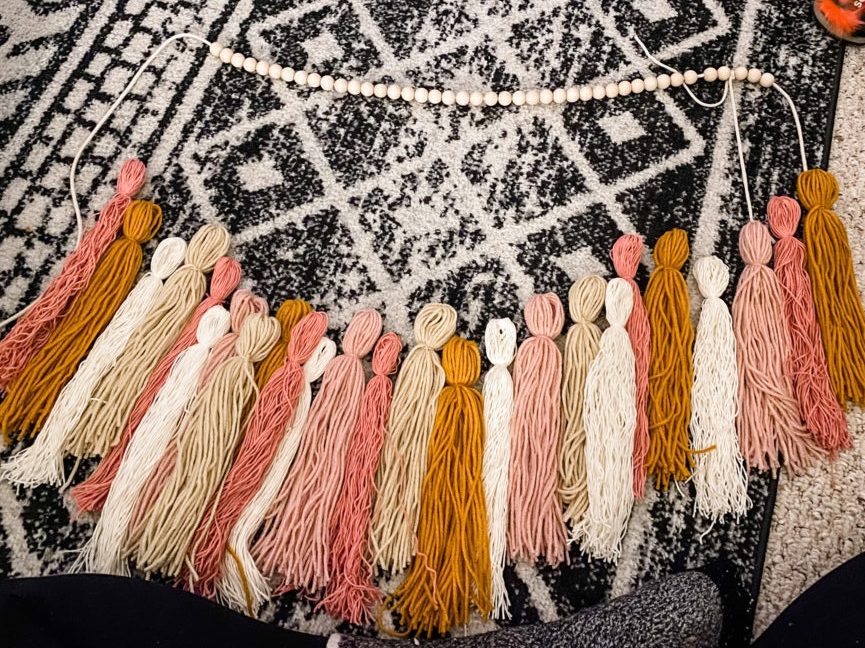
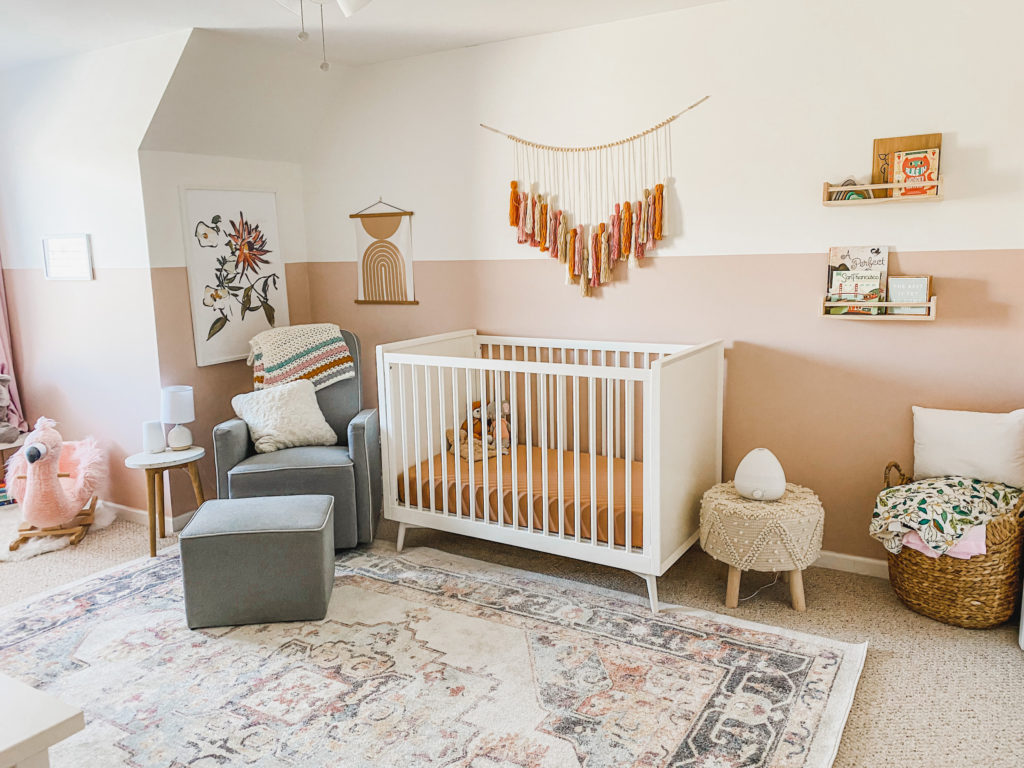
One of my favorite parts of doing Harper’s room was DIYing this tassel garland. I was inspired by this piece from Pottery Barn, but something kept me from forking up the $99 for it. It wasn’t quite the color scheme I was looking for and it seemed easy enough to make so I decided to give it a shot.
I started by deciding on the colors. I knew I wanted to bring in some orange tones to offset all of the pink going on in her room. Generally I try to avoid pink, I’ve just never been much of a fan, though you probably can’t tell from her finished room!
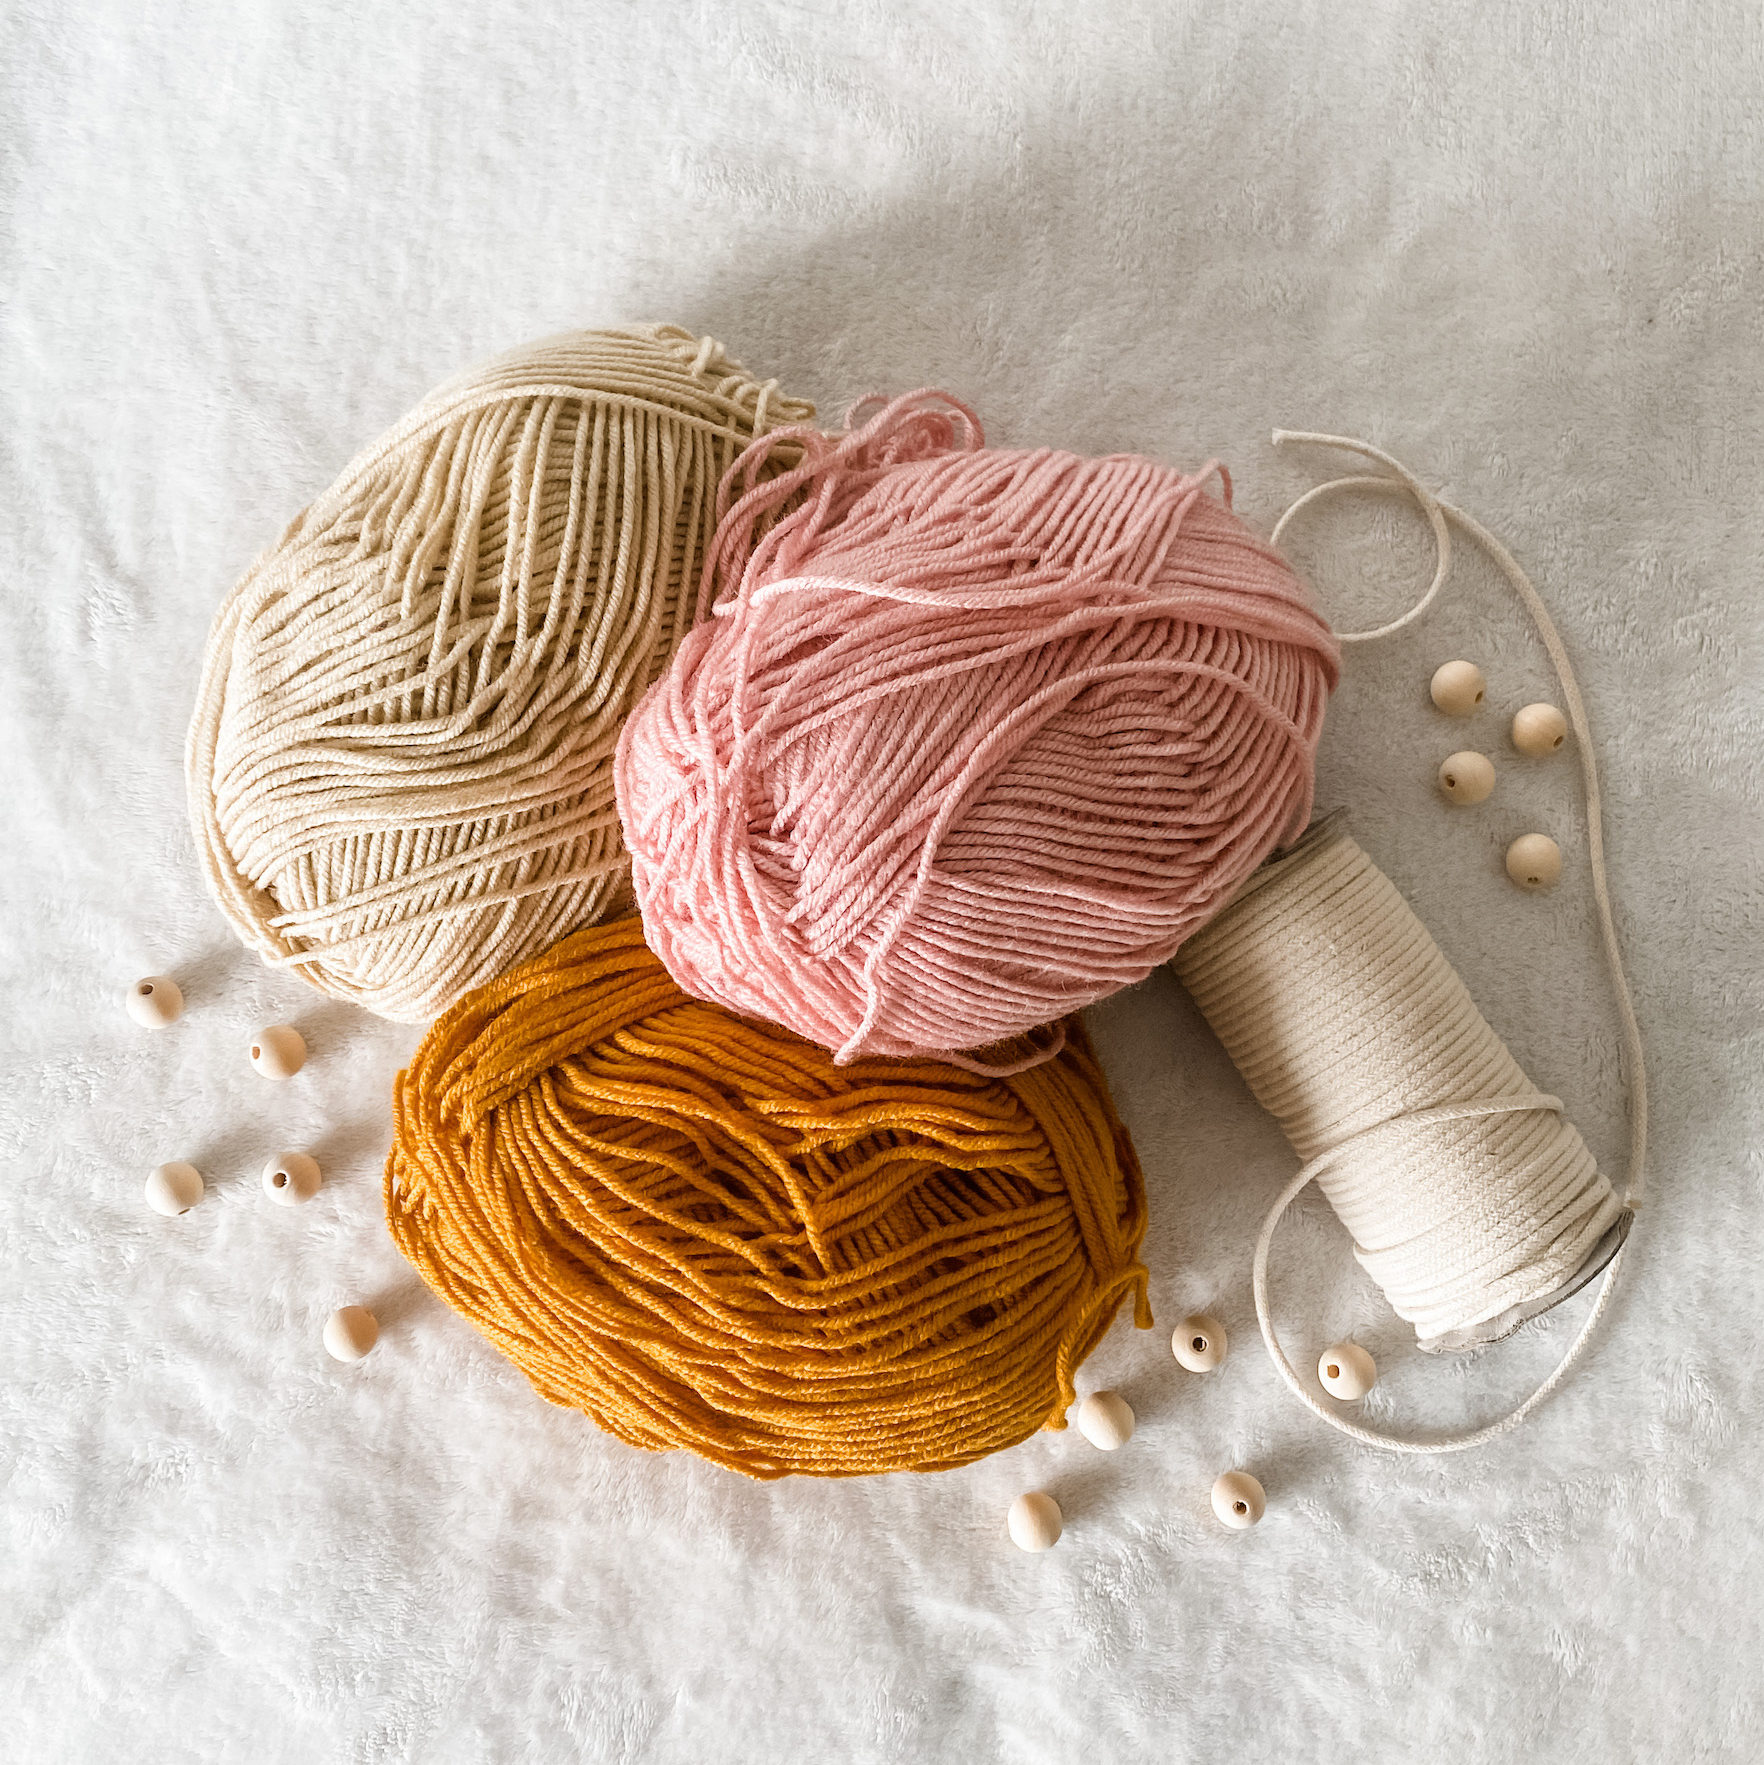
Given all the COVID craziness happening now, I decided to just place an order for pickup at Joann‘s. I chose a couple different types of yarn so there would be a variety of textures and used wooden beads and macrame cord that I had left over from some previous craft projects. Below are the materials I used.
Materials
- Big Twist Soft Yarn in Gold
- Big Twist Soft Yarn in Cream
- Big Twist Soft Yarn in Blush
- Lion Brand Oh Baby Organic Yarn in Ecru (recommend 2 skeins, but not essential)
- Lion Brand Oh Baby Organic Yarn in Rose (recommend 2 skeins, but not essential)
- Macrame Cord
- Wooden Beans (I used about 50 beads)
- Scissors
- Any Hardcover Book (I chose one that was 10 inches tall because I wanted long tassels)
- Optional: Hot Glue Gun
![This image has an empty alt attribute; its file name is IMG_6482-edited.jpg](https://homewithjanny.com/wp-content/uploads/2020/12/IMG_6482-edited.jpg)
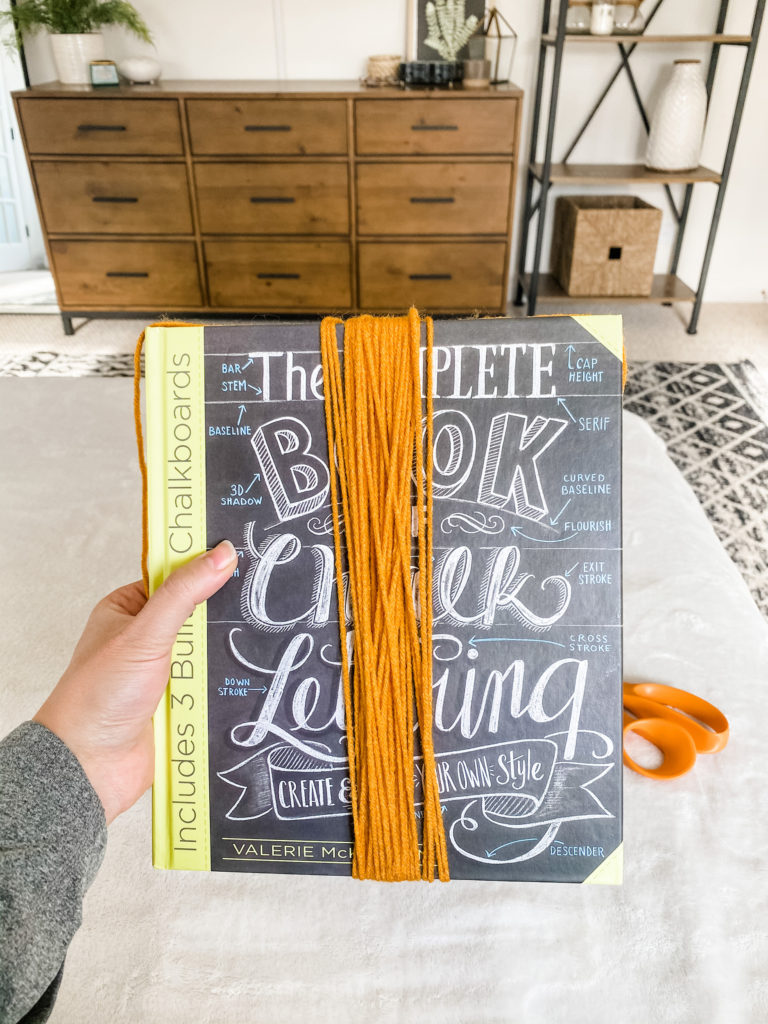
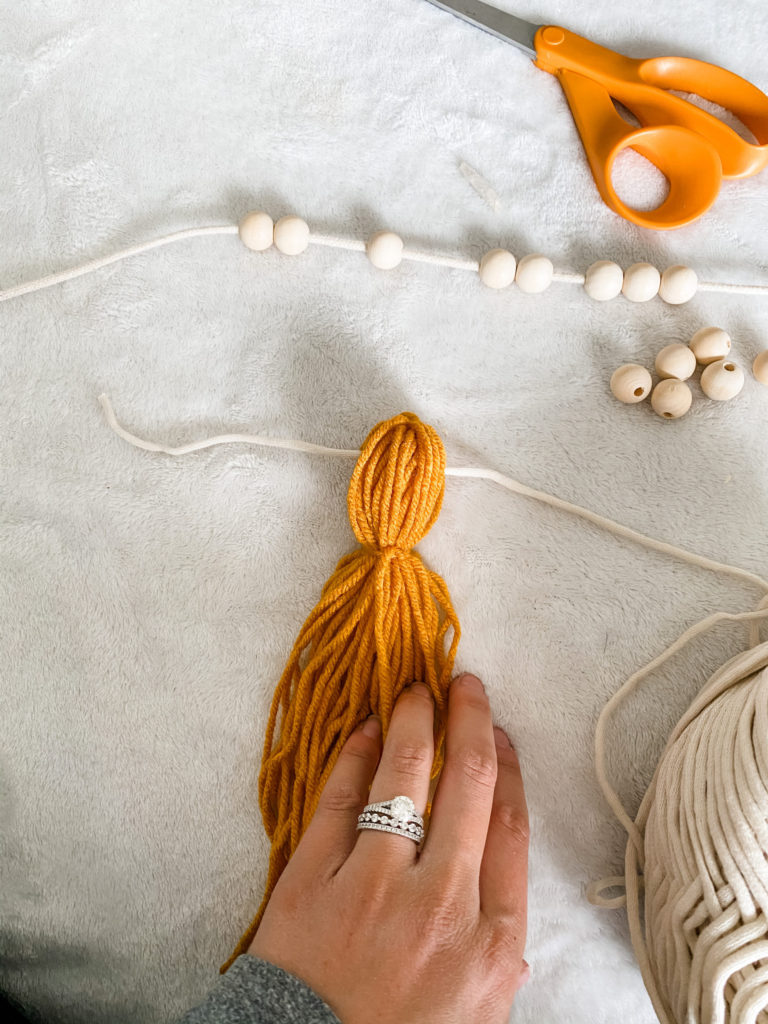
How to make the tassels…
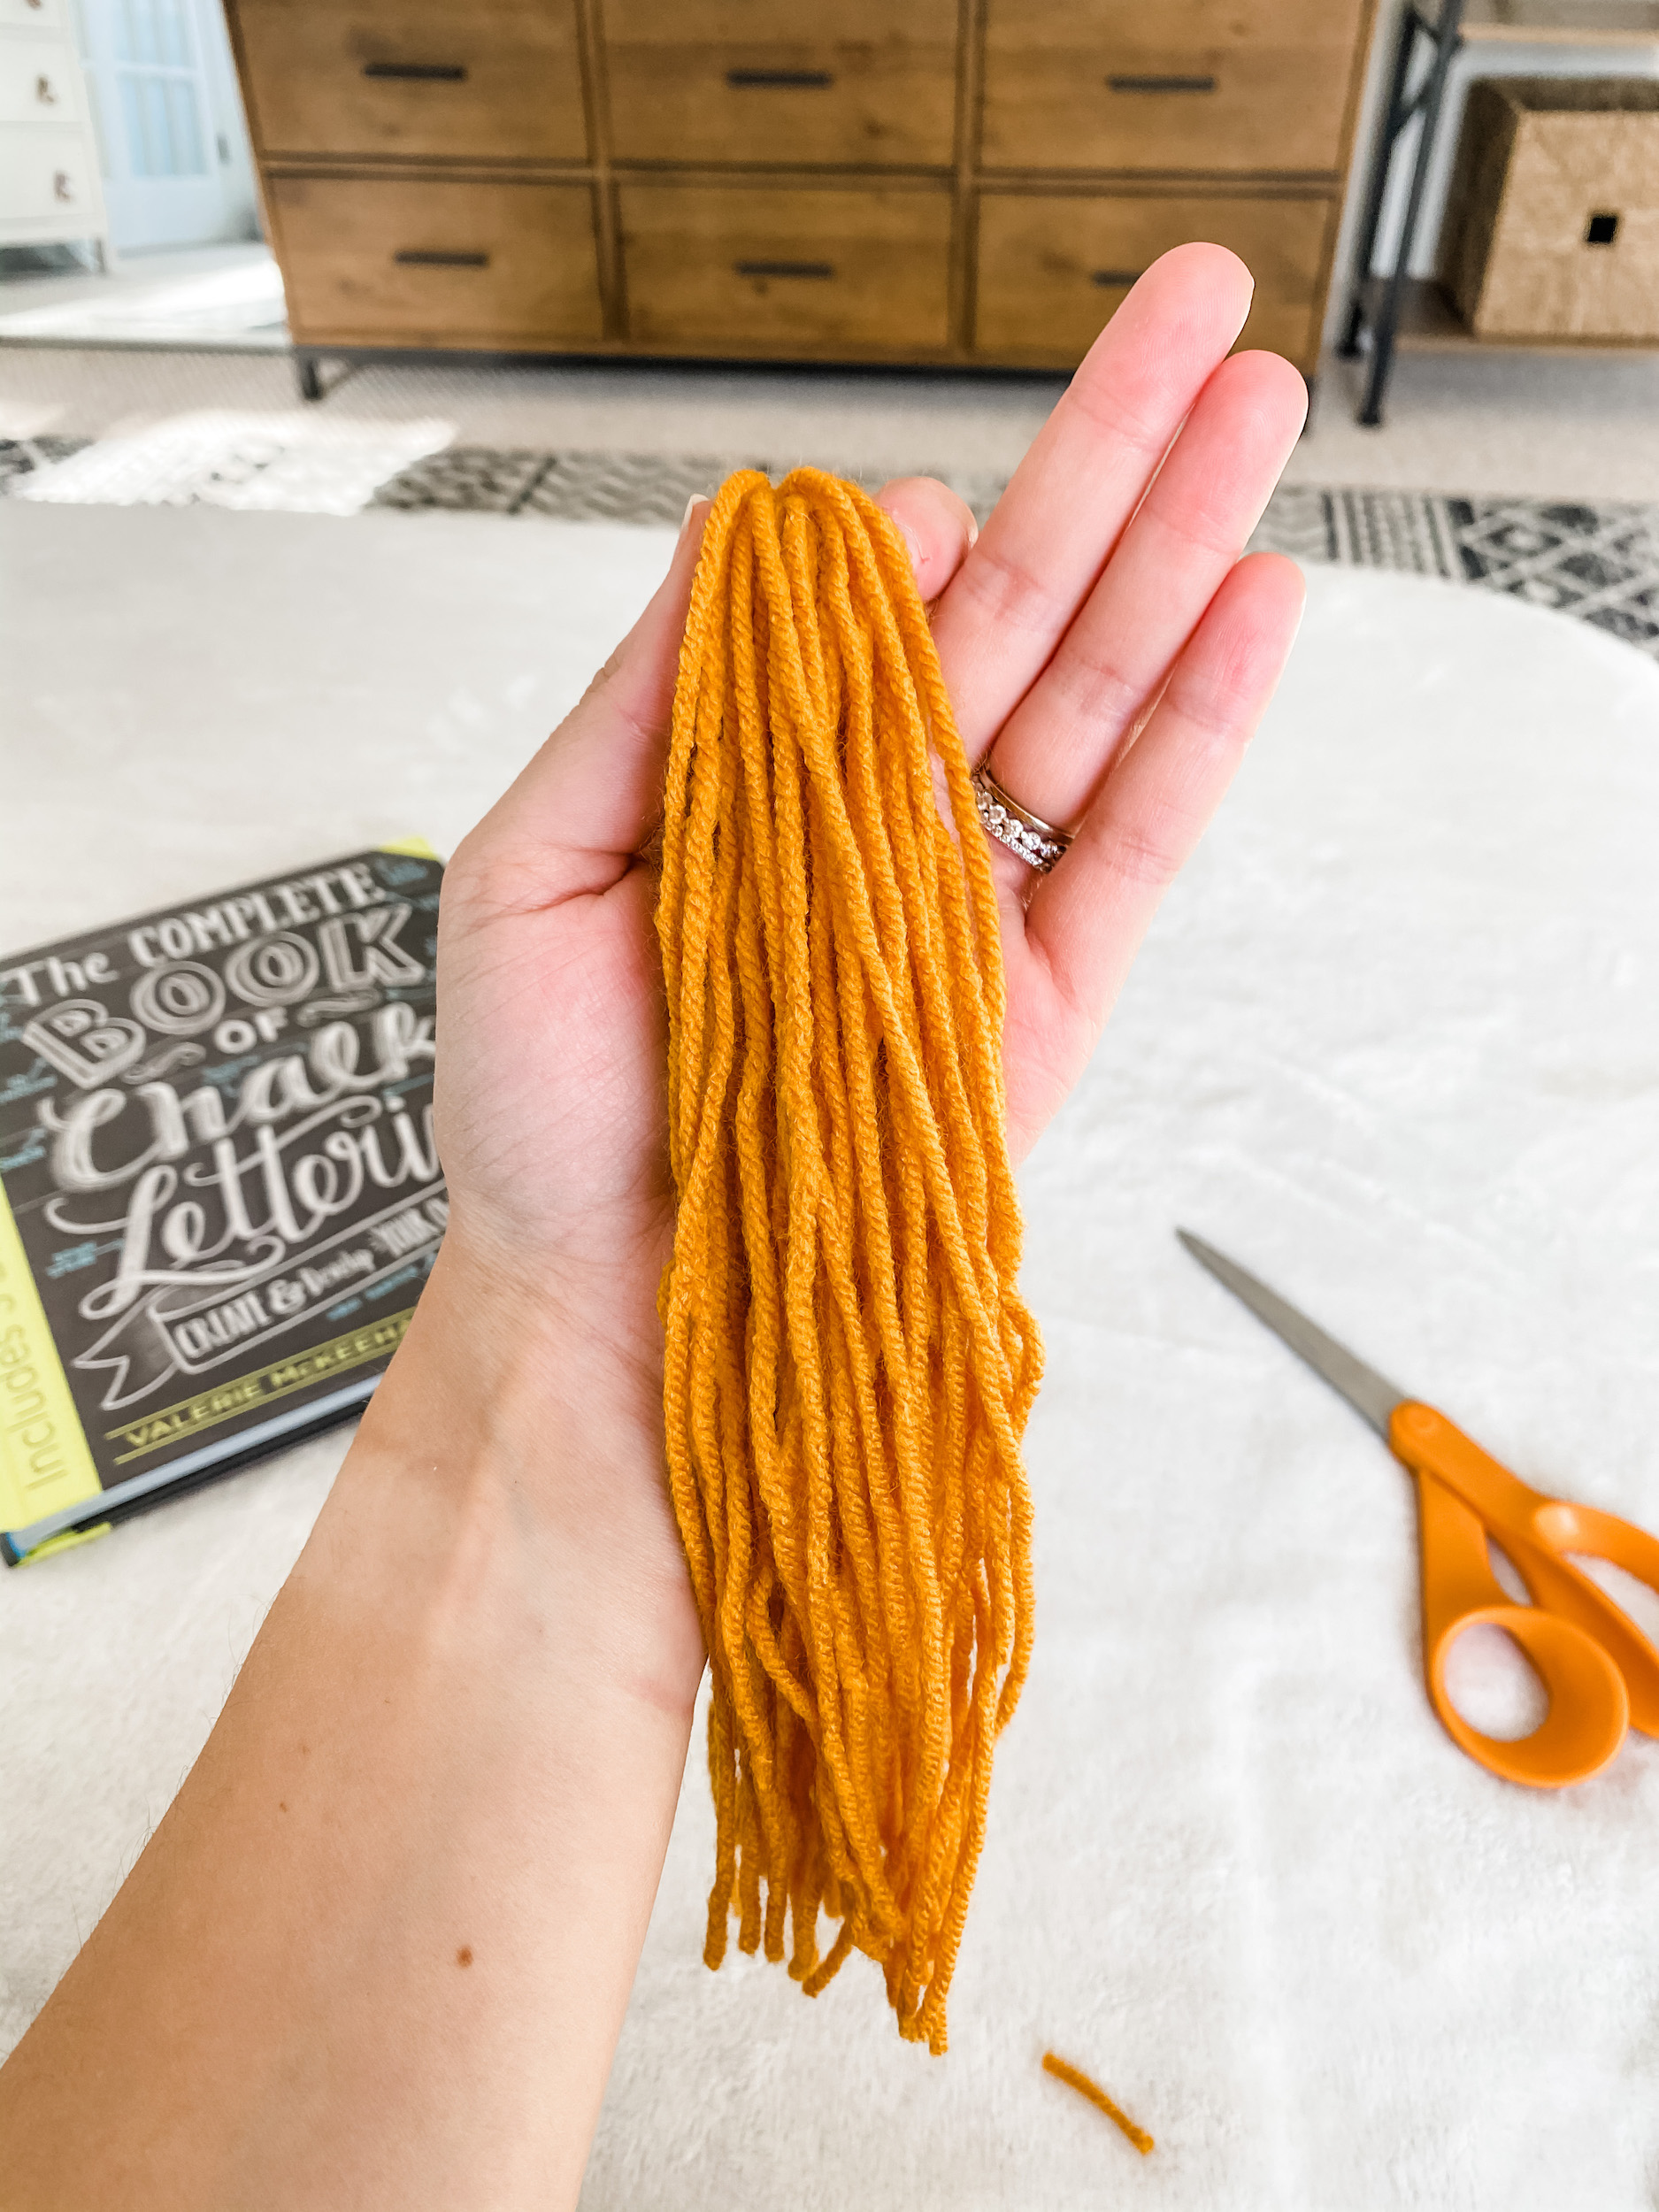
Wrap the yarn around your book 25 times (more or less depending on how full you want your tassels to be).
![This image has an empty alt attribute; its file name is IMG_6489-768x1024.jpg](https://homewithjanny.com/wp-content/uploads/2020/12/IMG_6489-768x1024.jpg)
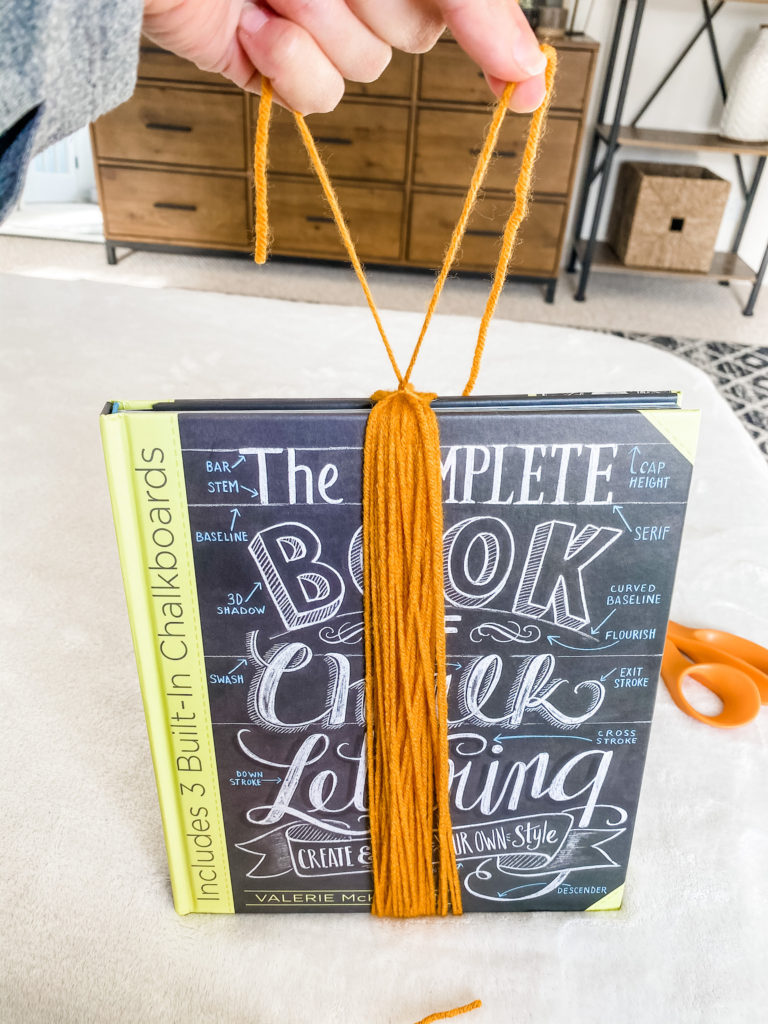
Slip a length of yarn under the wrapped part you just finished and tie a tight knot at the top.
![This image has an empty alt attribute; its file name is IMG_6490-768x1024.jpg](https://homewithjanny.com/wp-content/uploads/2020/12/IMG_6490-768x1024.jpg)
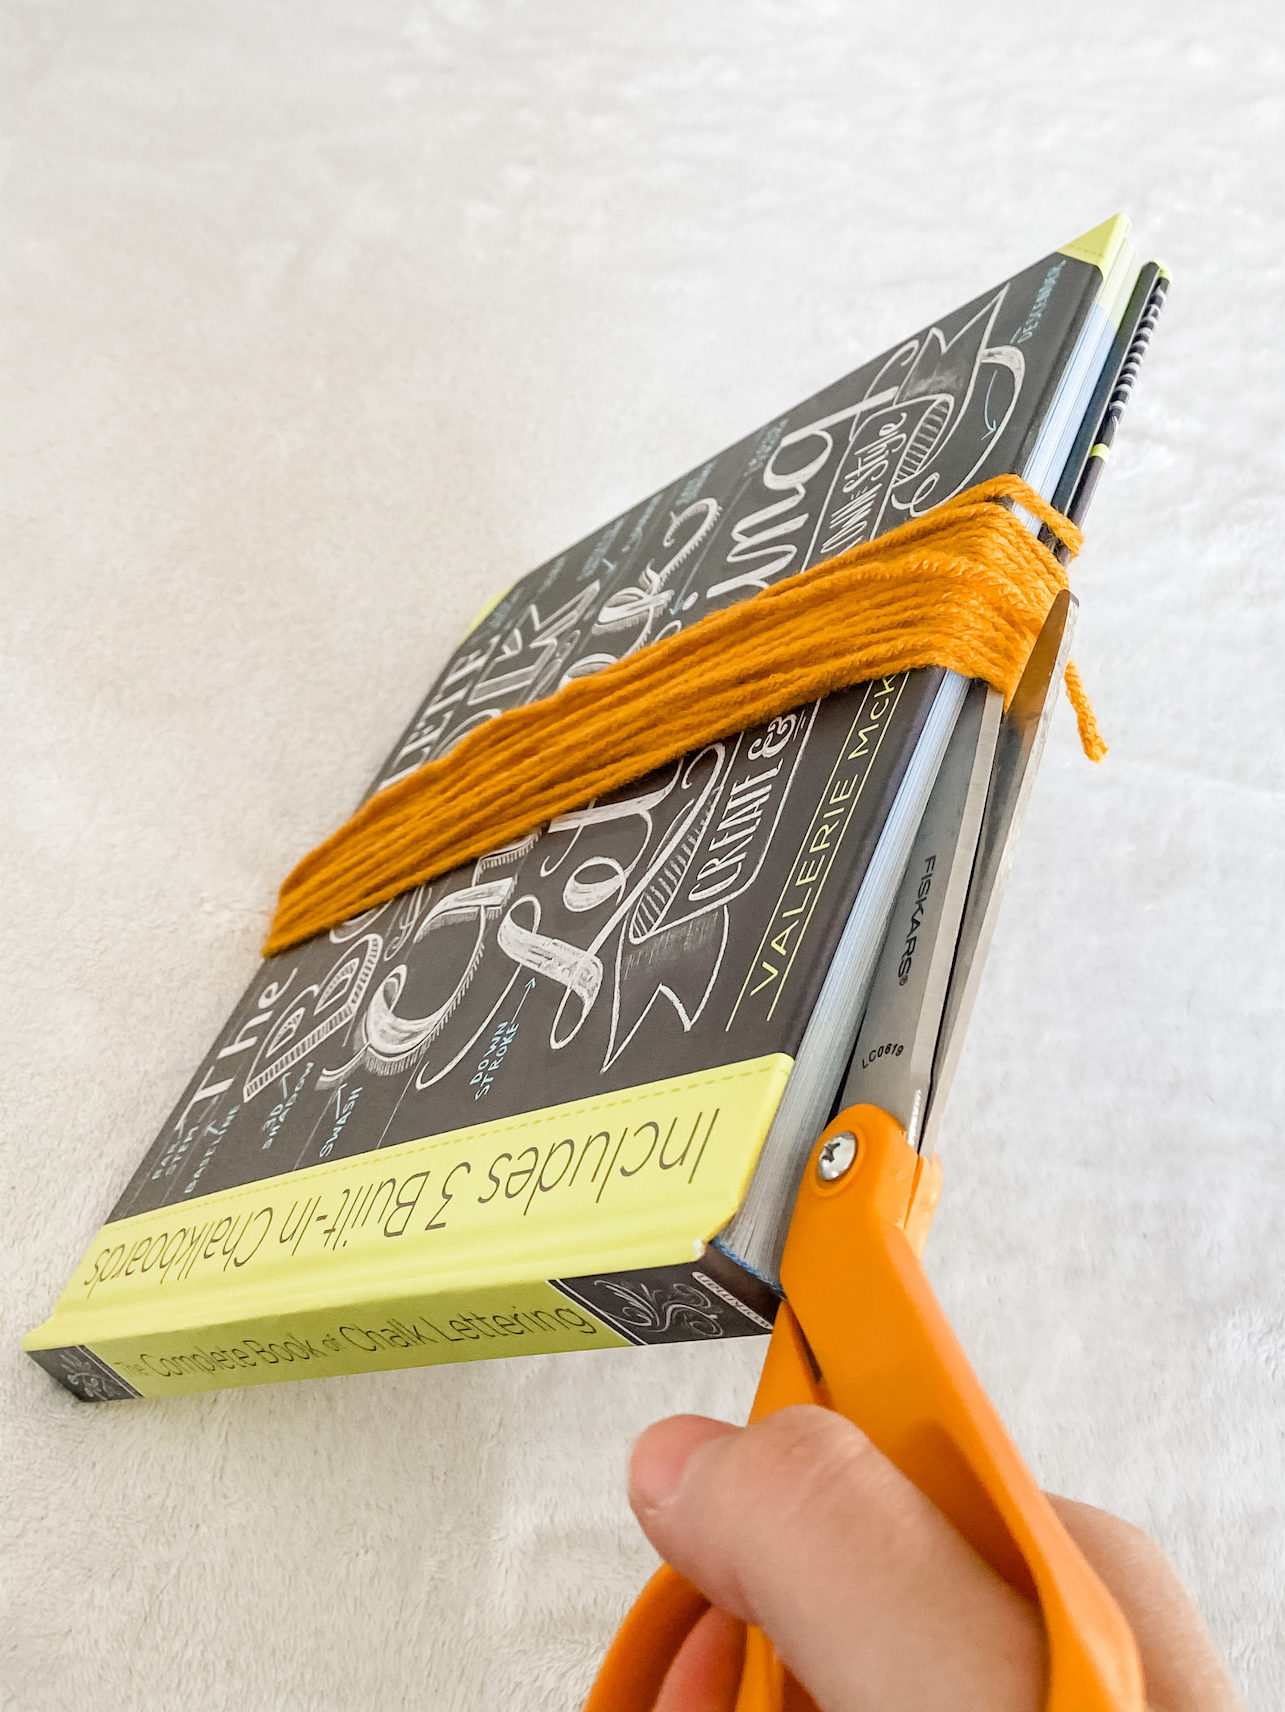
Cut the yarn at the bottom of the book.
![This image has an empty alt attribute; its file name is IMG_6491-edited.jpg](https://homewithjanny.com/wp-content/uploads/2020/12/IMG_6491-edited.jpg)
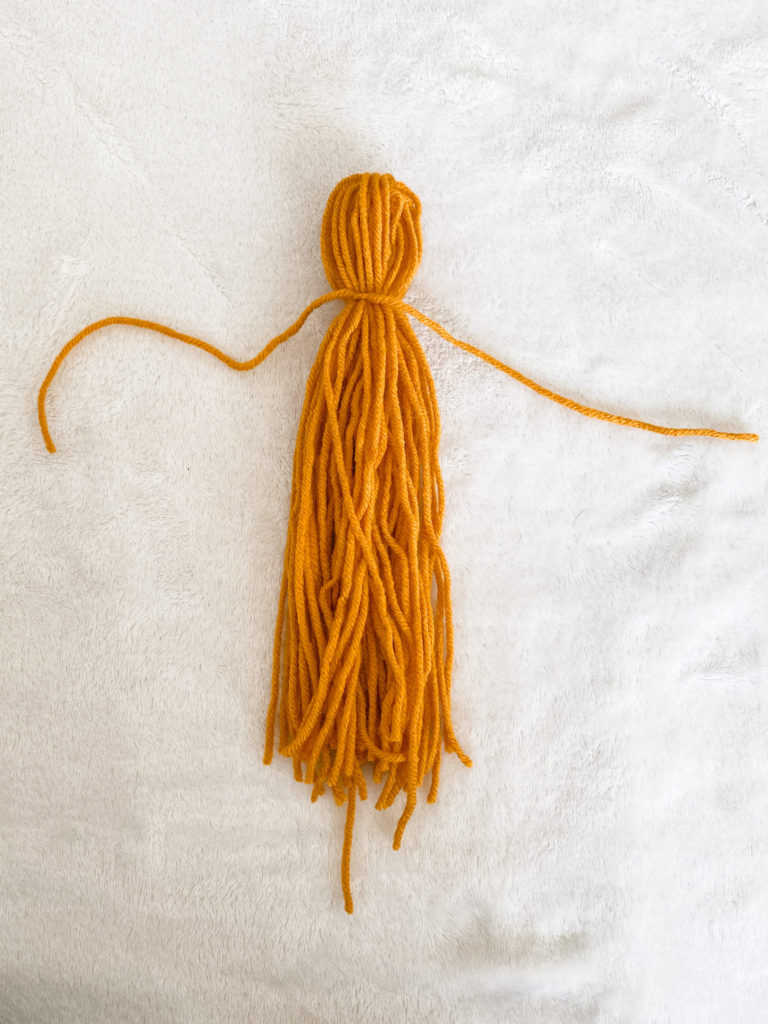
Lay the tassel out and tie another length of yarn 1 inch from the top
![This image has an empty alt attribute; its file name is IMG_6492-1.jpg](https://homewithjanny.com/wp-content/uploads/2020/12/IMG_6492-1.jpg)
![This image has an empty alt attribute; its file name is IMG_6493-edited-768x1024.jpg](https://homewithjanny.com/wp-content/uploads/2020/12/IMG_6493-edited-768x1024.jpg)
Trim the bottom of the tassel so it’s even.
![This image has an empty alt attribute; its file name is IMG_6495-edited.jpg](https://homewithjanny.com/wp-content/uploads/2020/12/IMG_6495-edited.jpg)
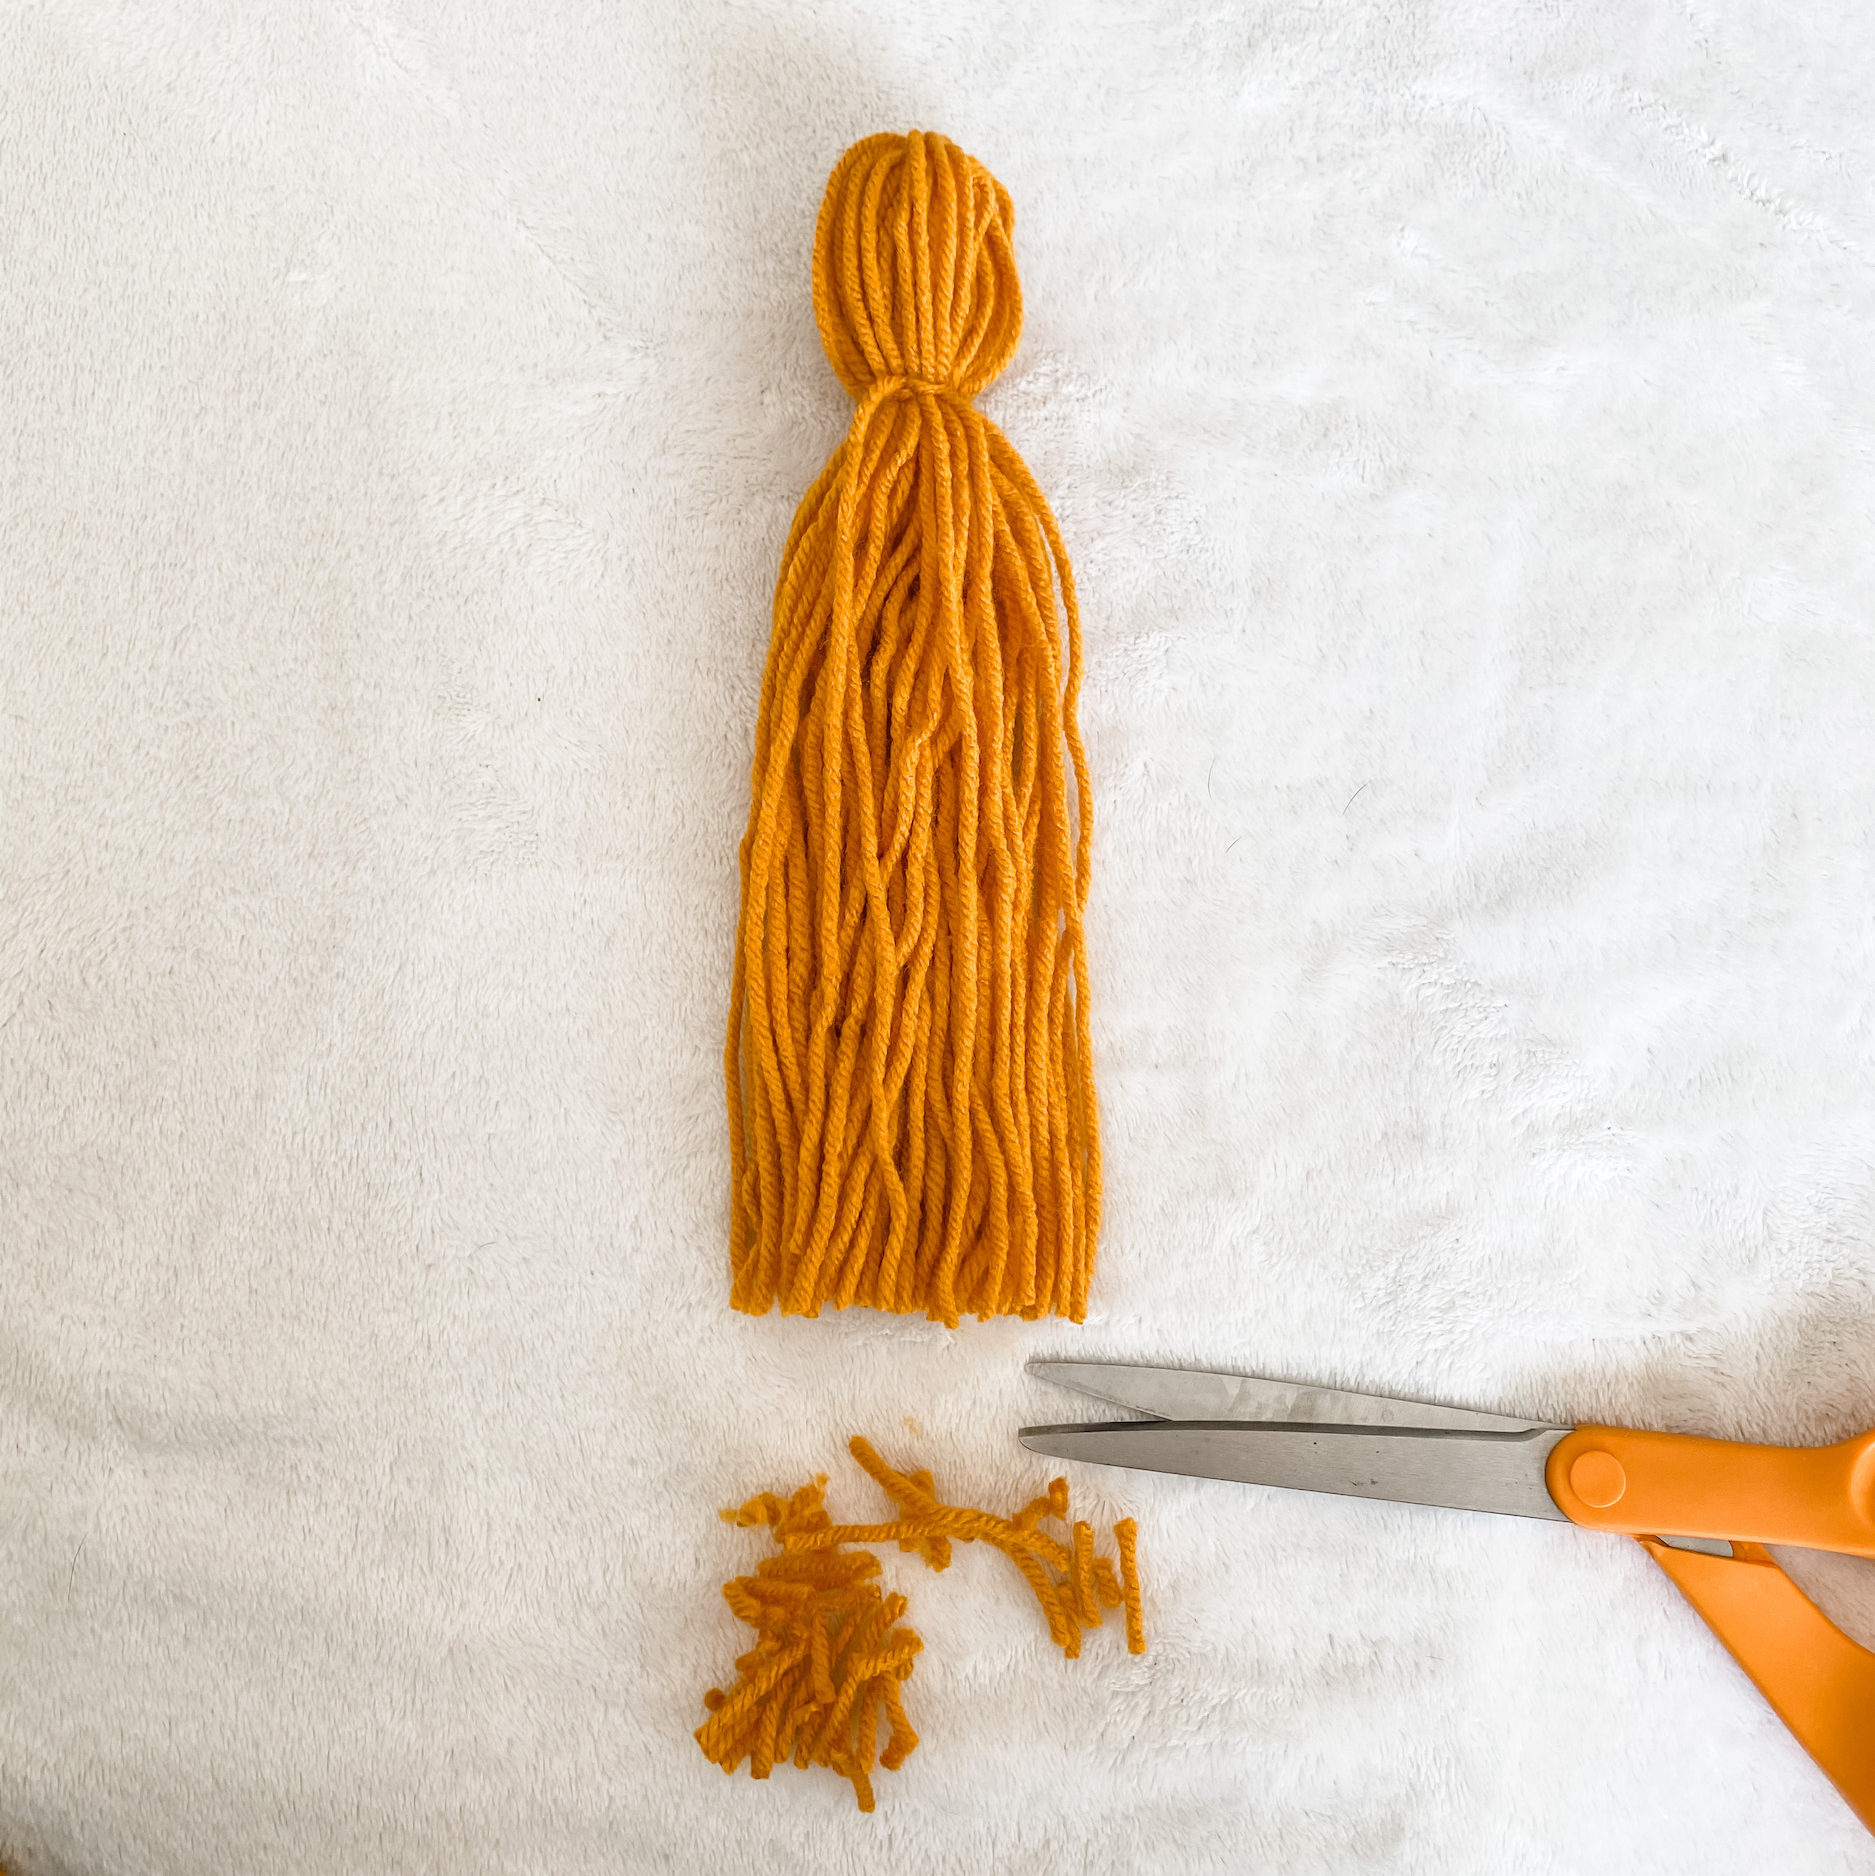
Repeat the above process until you have the desired number of tassels. (I went with an odd number so I could have one center tassel)
How to assemble the garland…
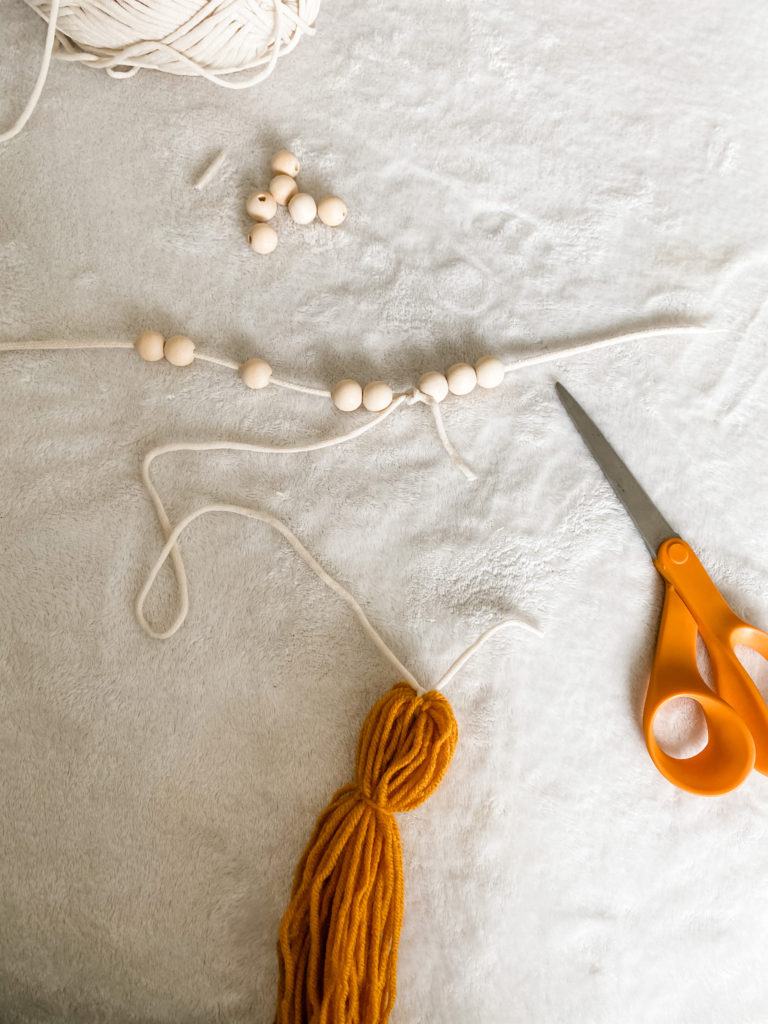
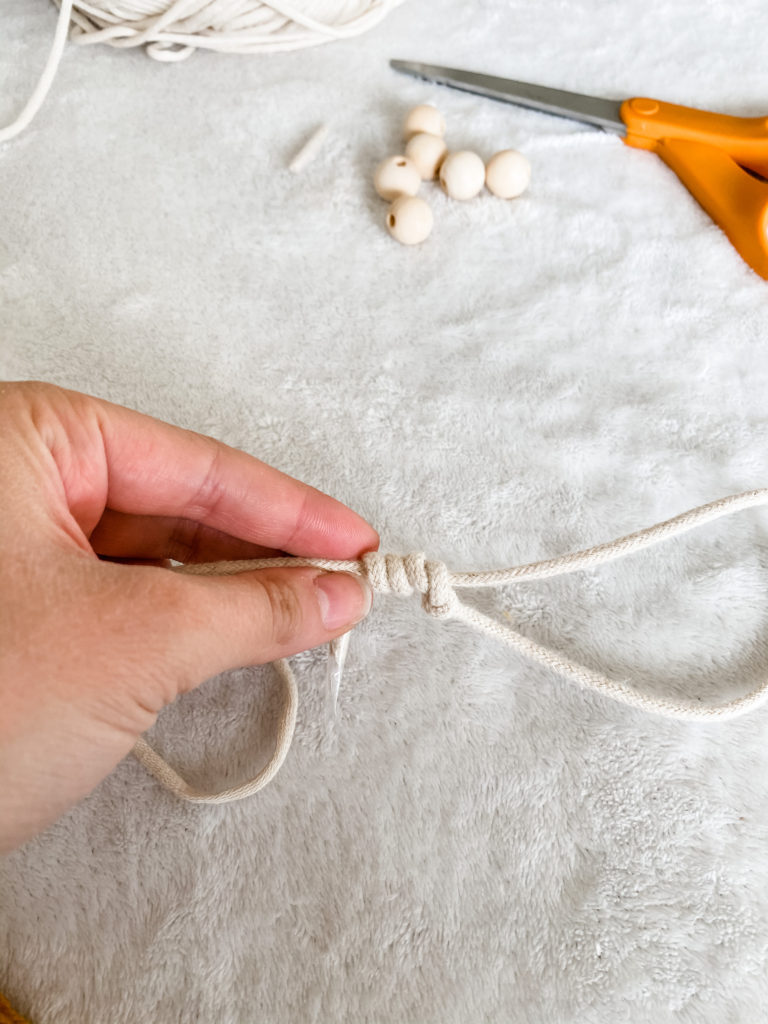
Thread the wooden beads onto the macrame cord.
Tip: If you’re having trouble threading through the hole on the bead, wrap a piece of tape tightly around the end of the cord.
![This image has an empty alt attribute; its file name is IMG_6501-768x1024.jpg](https://homewithjanny.com/wp-content/uploads/2020/12/IMG_6501-768x1024.jpg)
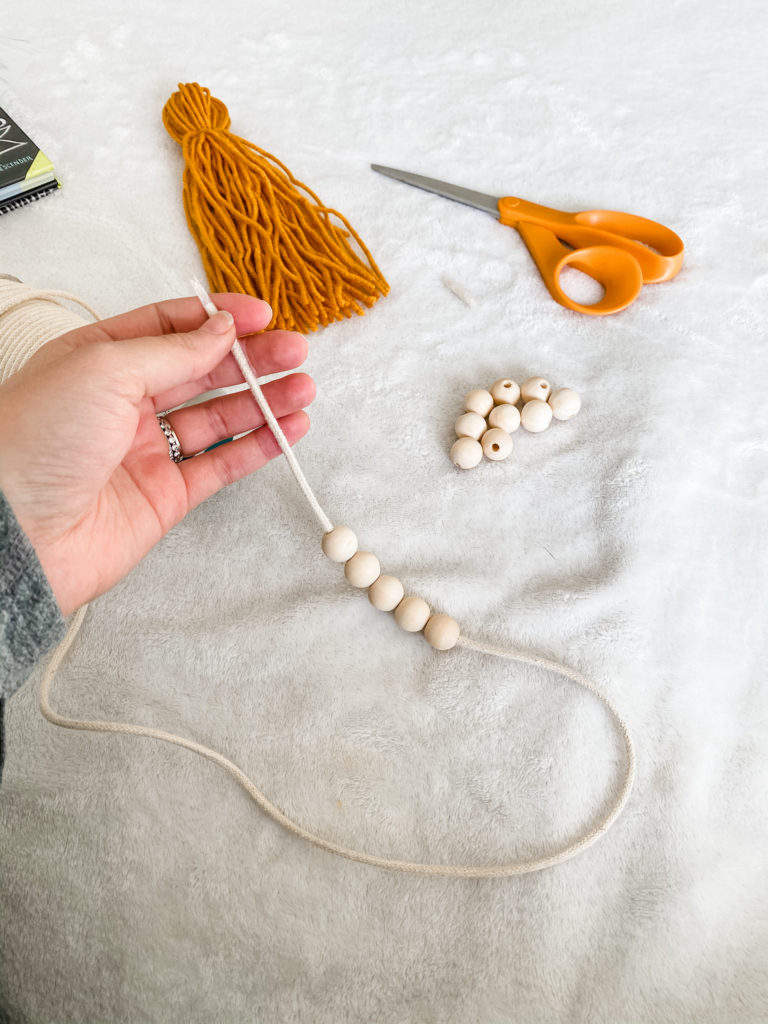
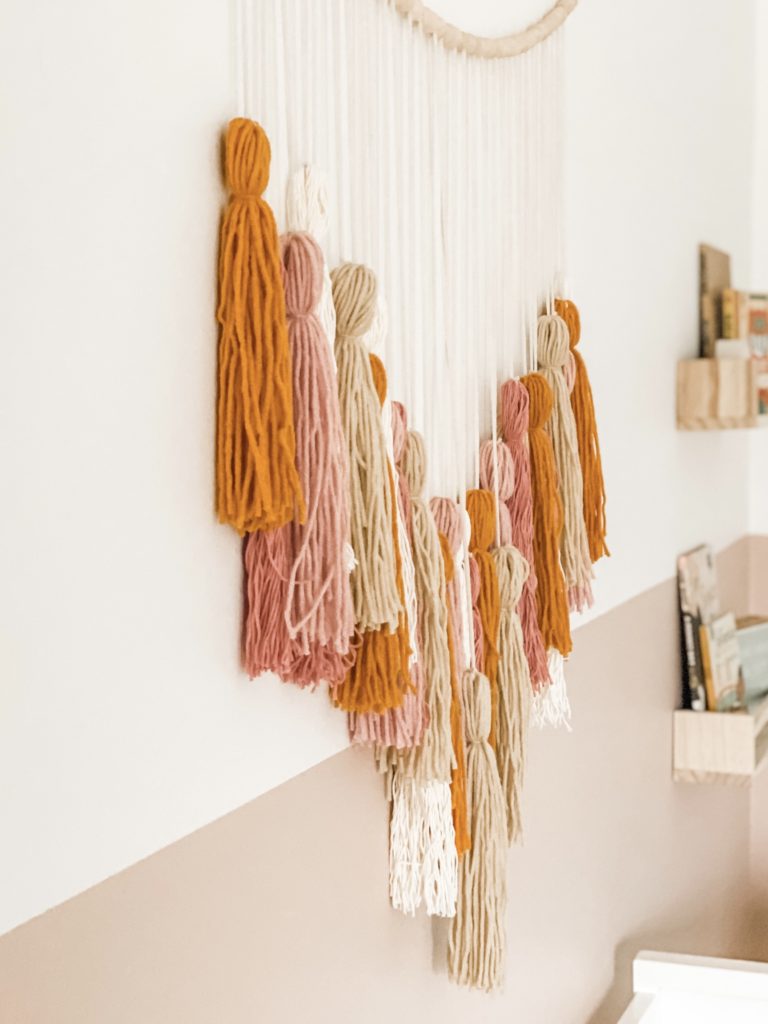
Once you have all the beads threaded, lay out everything out to decide which order to put your tassels in and the general shape you want to go for.
![This image has an empty alt attribute; its file name is image-edited.jpg](https://homewithjanny.com/wp-content/uploads/2020/12/image-edited.jpg)
Cut a length of yarn, depending on how far down you want the tassels to hang from the cord, and tie it to the top of the tassel.
![This image has an empty alt attribute; its file name is IMG_6502-2-edited-1-768x1024.jpg](https://homewithjanny.com/wp-content/uploads/2020/12/IMG_6502-2-edited-1-768x1024.jpg)
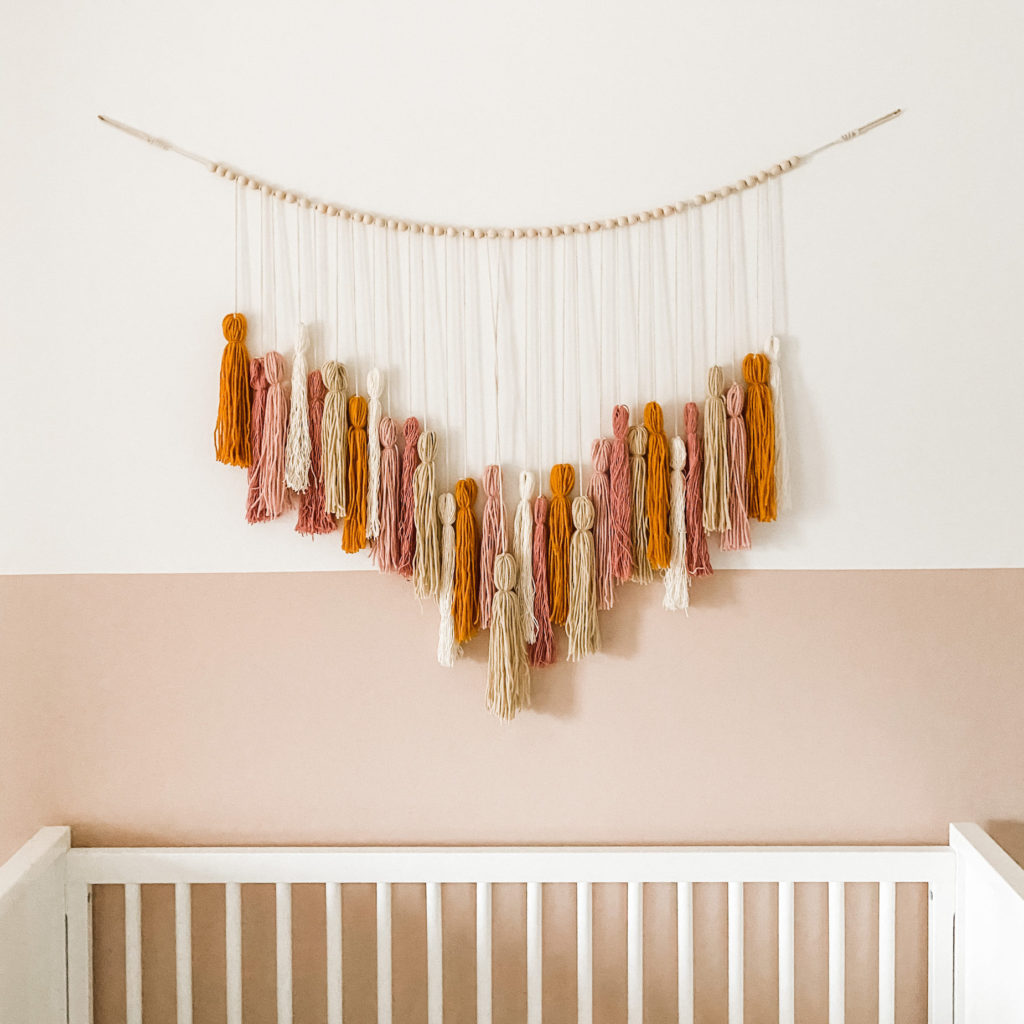
Tie the other end of the yarn to the cord between the beads. I left 3 beads on the ends and then would alternate between 1 and 2 beads between each tassel. Repeat for each of your tassels and trim the excess yarn.
![This image has an empty alt attribute; its file name is IMG_6506-2-768x1024.jpg](https://homewithjanny.com/wp-content/uploads/2020/12/IMG_6506-2-768x1024.jpg)
Create a loop at the end of the macrame cord and tie into a knot.
![This image has an empty alt attribute; its file name is IMG_6507-768x1024.jpg](https://homewithjanny.com/wp-content/uploads/2020/12/IMG_6507-768x1024.jpg)
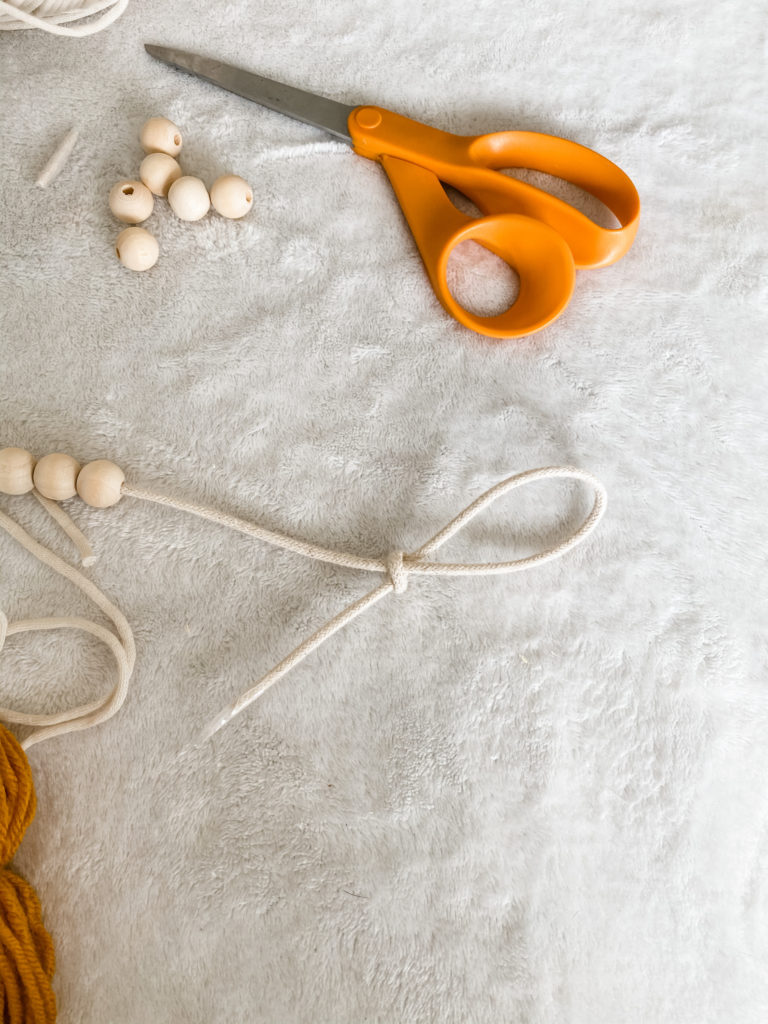
Optional: Wrap the end around the cord a few times and secure with hot glue.
![This image has an empty alt attribute; its file name is IMG_6508-1-768x1024.jpg](https://homewithjanny.com/wp-content/uploads/2020/12/IMG_6508-1-768x1024.jpg)
Voila! Hang your tassel garland and admire your handy work!
![This image has an empty alt attribute; its file name is IMG_6554_jpg-768x1024.jpg](https://homewithjanny.com/wp-content/uploads/2020/12/IMG_6554_jpg-768x1024.jpg)
![This image has an empty alt attribute; its file name is IMG_6556-edited-1024x1024.jpg](https://homewithjanny.com/wp-content/uploads/2020/12/IMG_6556-edited-1024x1024.jpg)
![This image has an empty alt attribute; its file name is IMG_6252-1024x768.jpg](https://homewithjanny.com/wp-content/uploads/2020/12/IMG_6252-1024x768.jpg)
I hope this was helpful! Let me know if you try it out or if you have any questions!
![This image has an empty alt attribute; its file name is lovesignature_magical_small.png](https://homewithjanny.com/wp-content/uploads/2018/07/lovesignature_magical_small.png)